
Advertisement
Nordic Walking Hub
Find walking companions
Menu

Author: Hudrator

  • Tanvaldský Špičák: a steep climb and a cackling welcome

    Tanvaldský Špičák: a steep climb and a cackling welcome

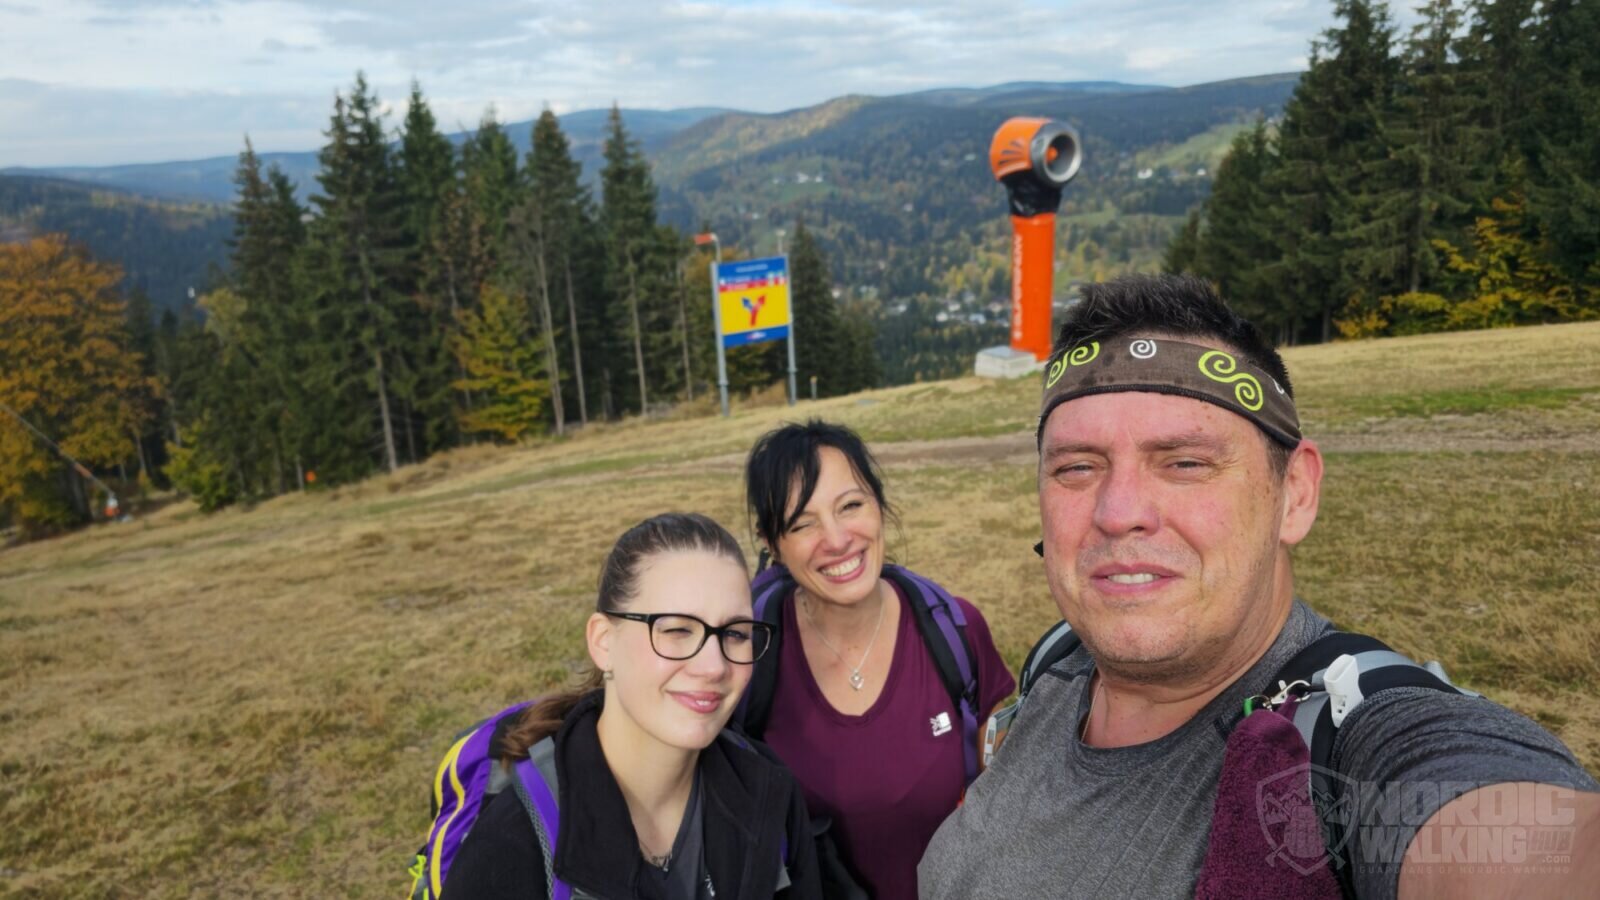
    Three walkers with autumn views behind us.
    Three walkers with autumn views behind us.

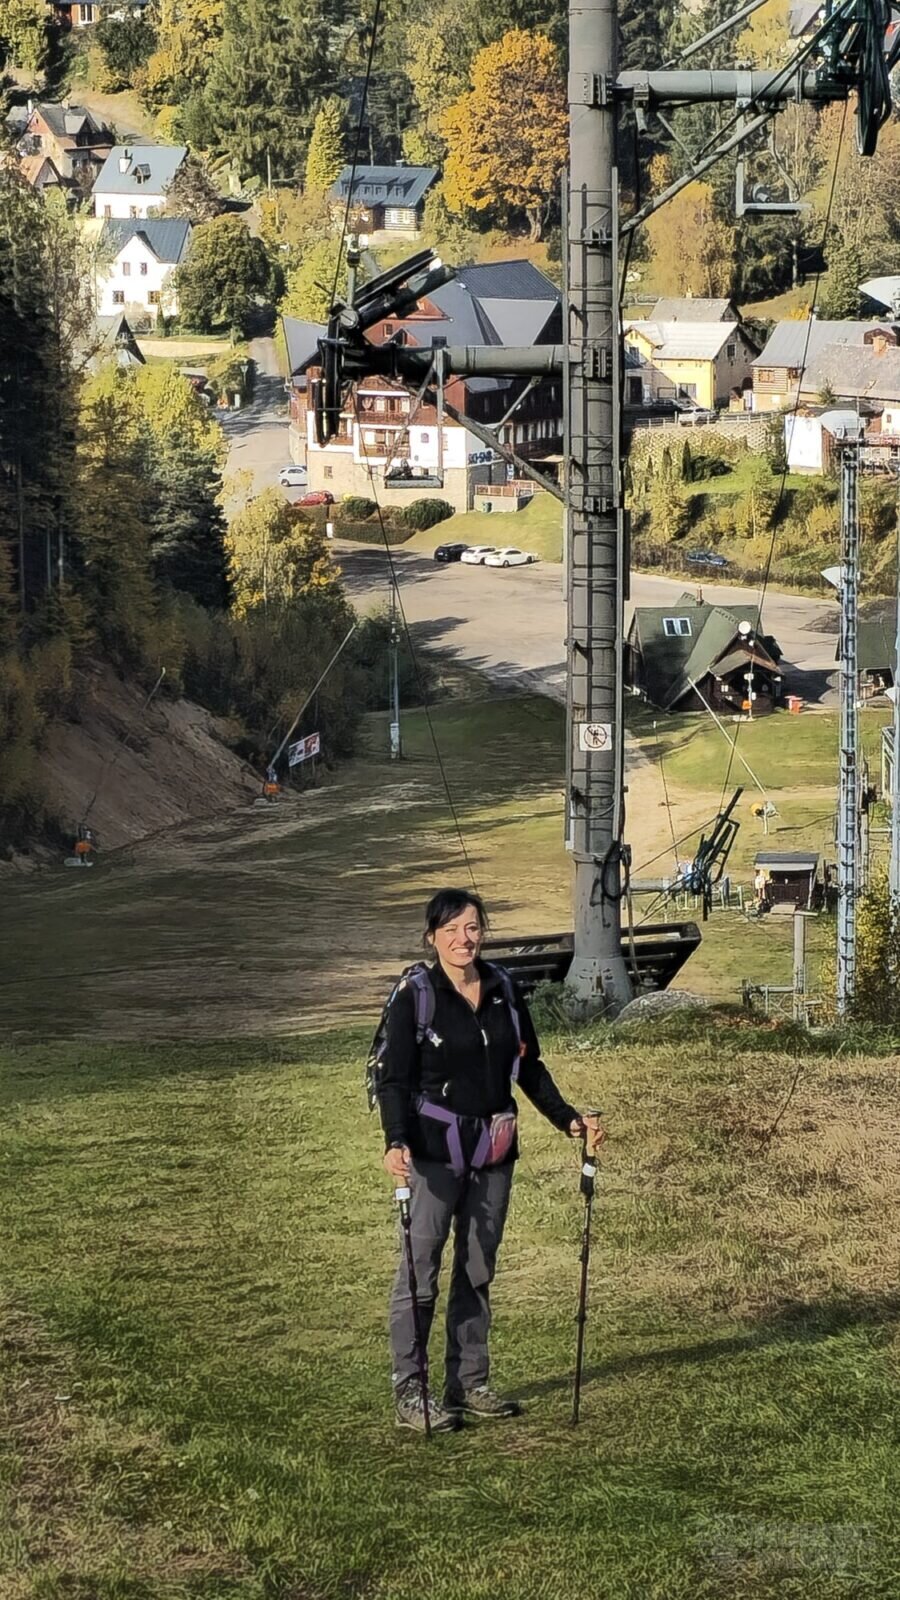
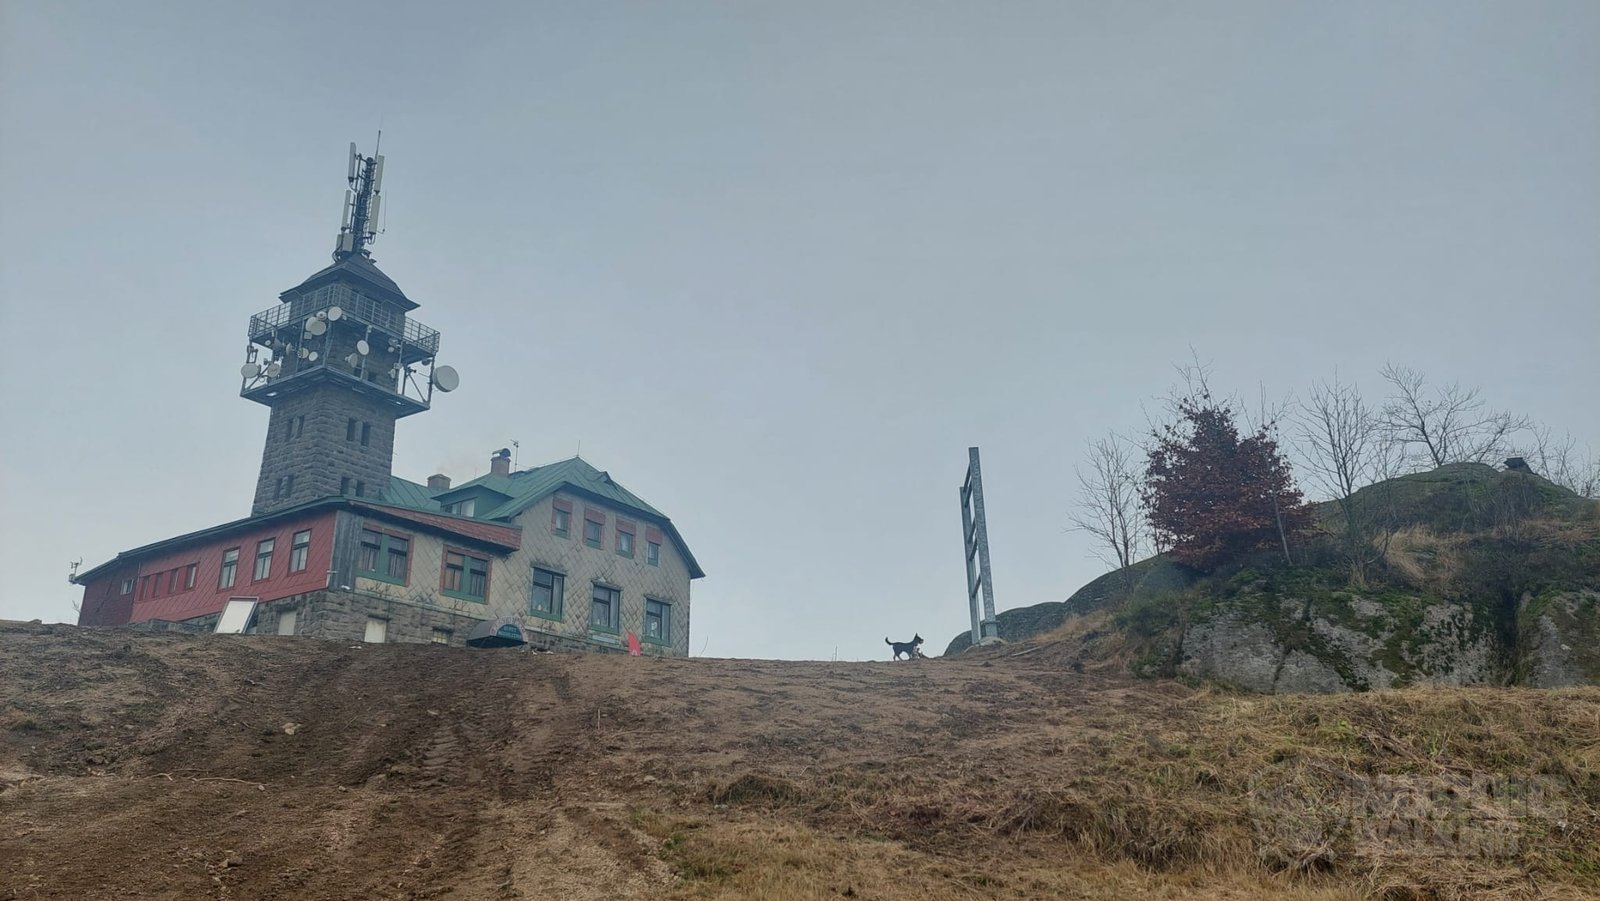
    On Saturday, 17 October, we set off from Chata U Lesa for Tanvaldský Špičák. It sounded like a lovely plan: an autumn walk, poles in hand, good company and a decent meal at the top. The mountain had clearly latched on to the last bit and was determined to make us earn it. It was a beautiful walk. Uphill. Then uphill some more. Just when we thought we might be due a flat bit, there was another climb.

    Autumn colours, with a spot of dodging cyclists
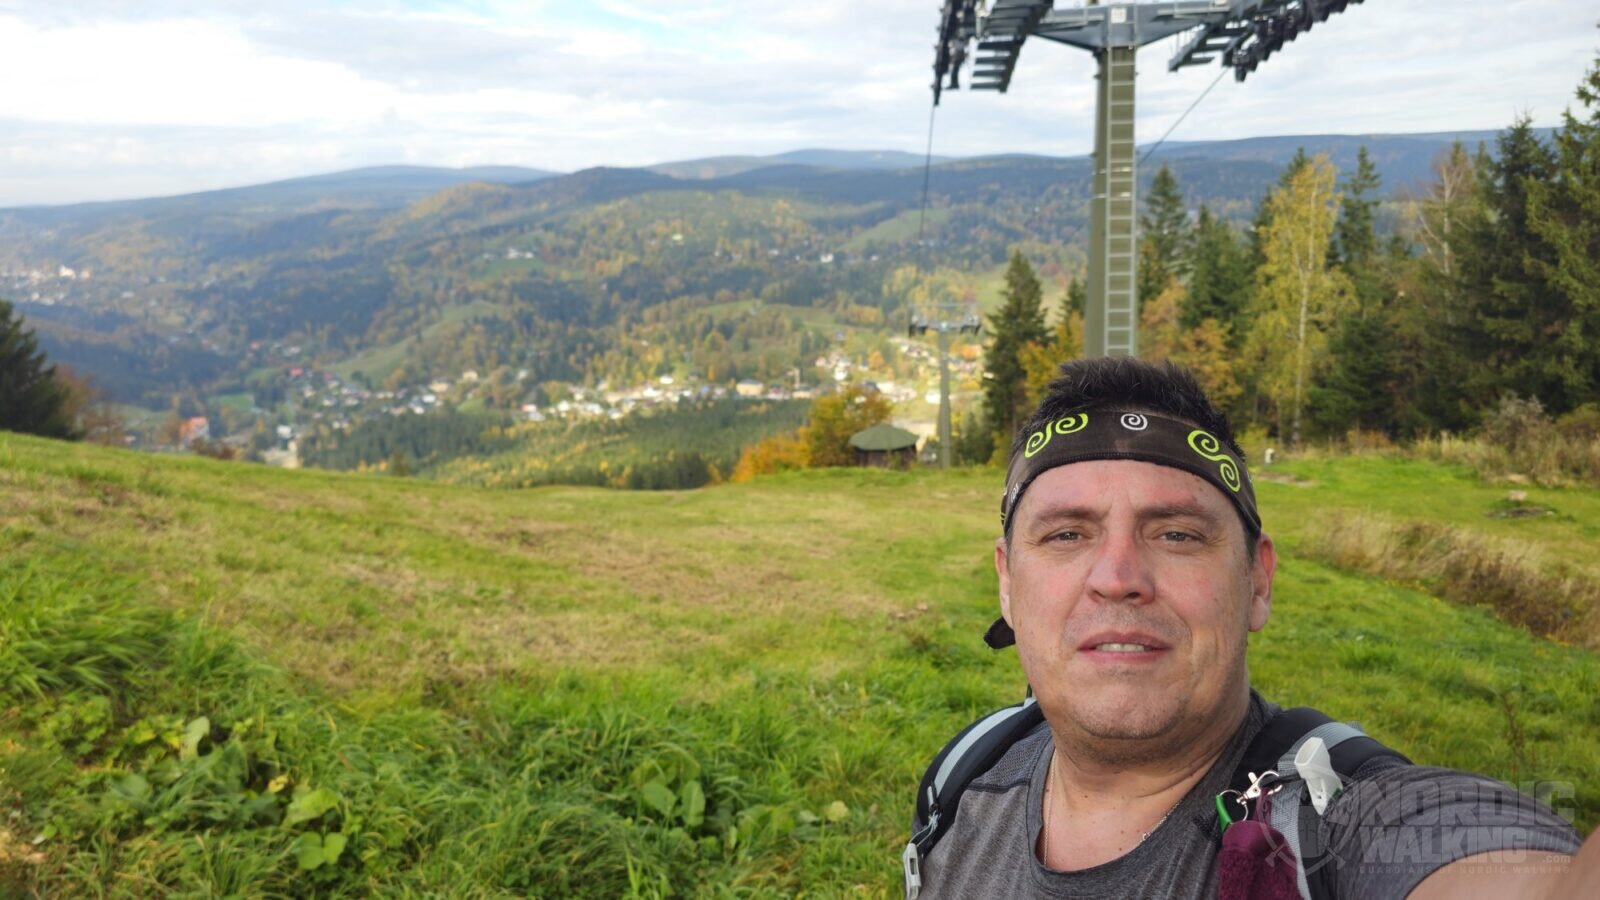
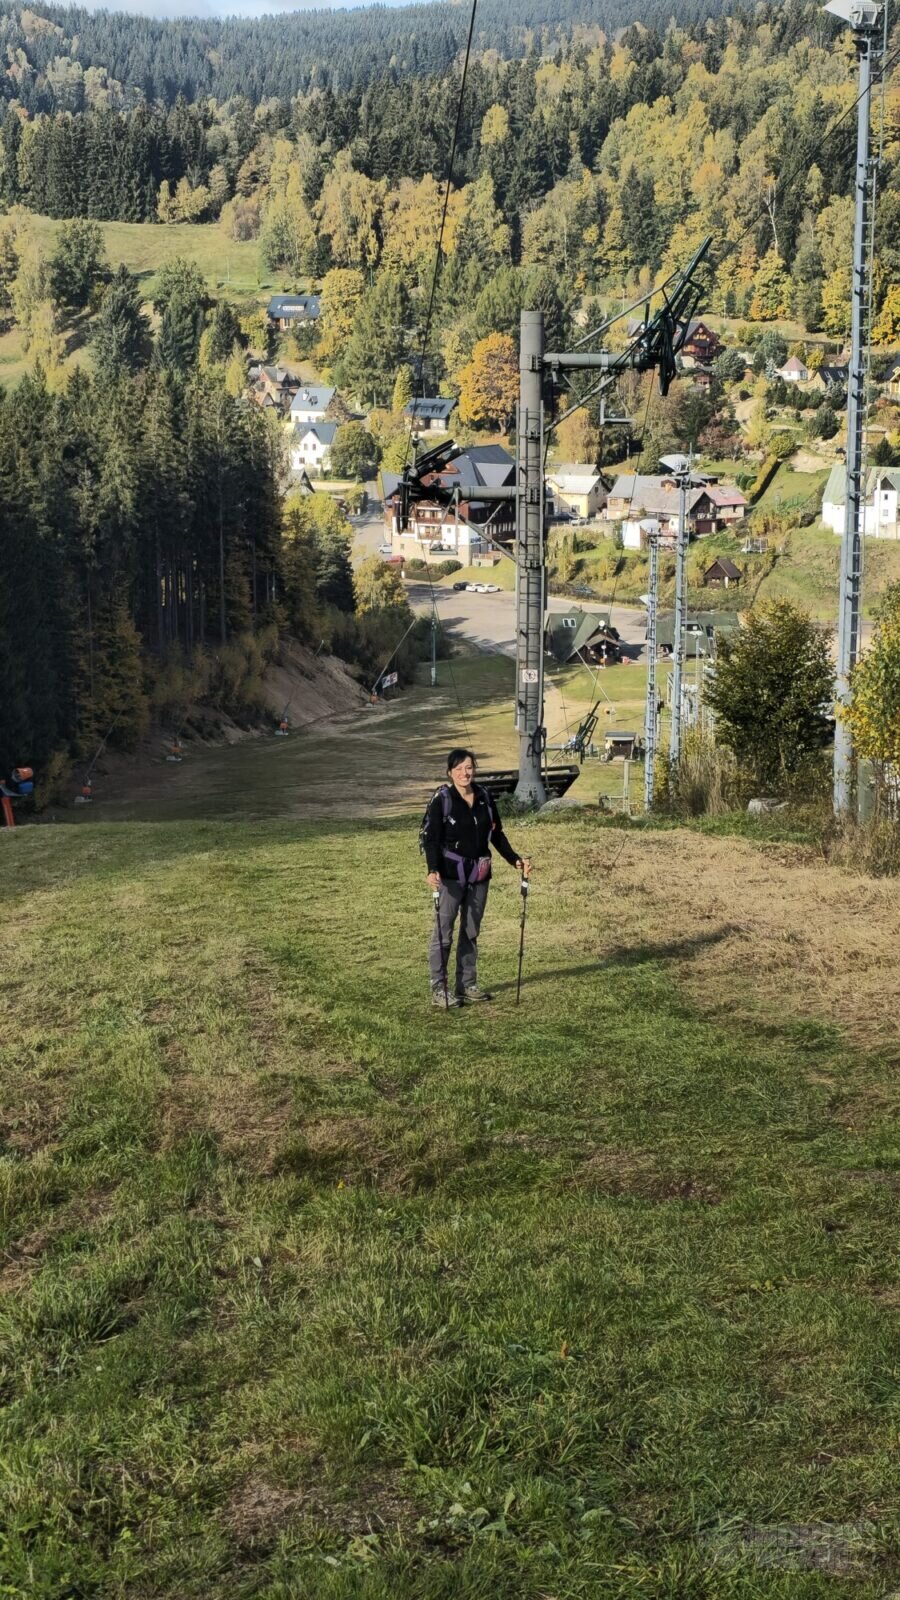
    A view from the slope during the climb.
    A view from the slope during the climb.

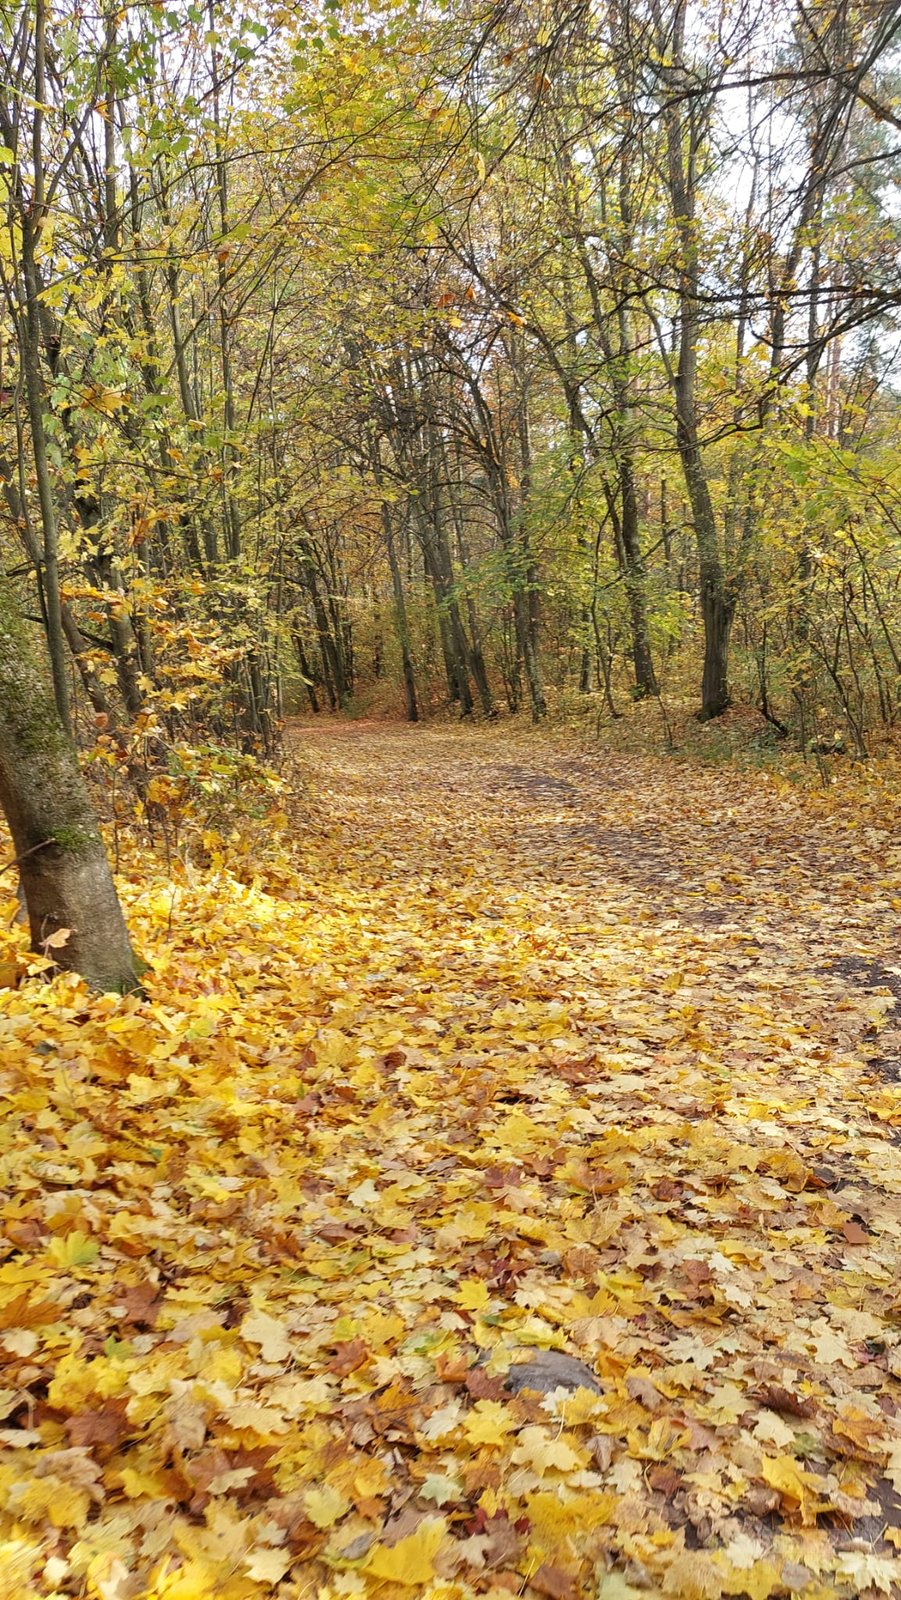
    Autumn leaves all around, views through the trees and enough uneven ground to keep us watching our step. Part of the climb took us along a mountain-bike trail. The lifts weren’t running, but that hadn’t stopped a few cyclists. They came flying past, and our peaceful walk briefly turned into a game of dodge-the-bike.

    Táňa was shrieking, Veronika was in tears, and the rest of us were stumbling, falling over and getting up again. A relaxing family day out, then. We walked part of the way up the ski slope and kept going. The lodge certainly wasn’t going to come down to us. Next time, we’ll stick to a walking trail: much easier to enjoy the autumn colours when you’re not listening out for bikes behind you.
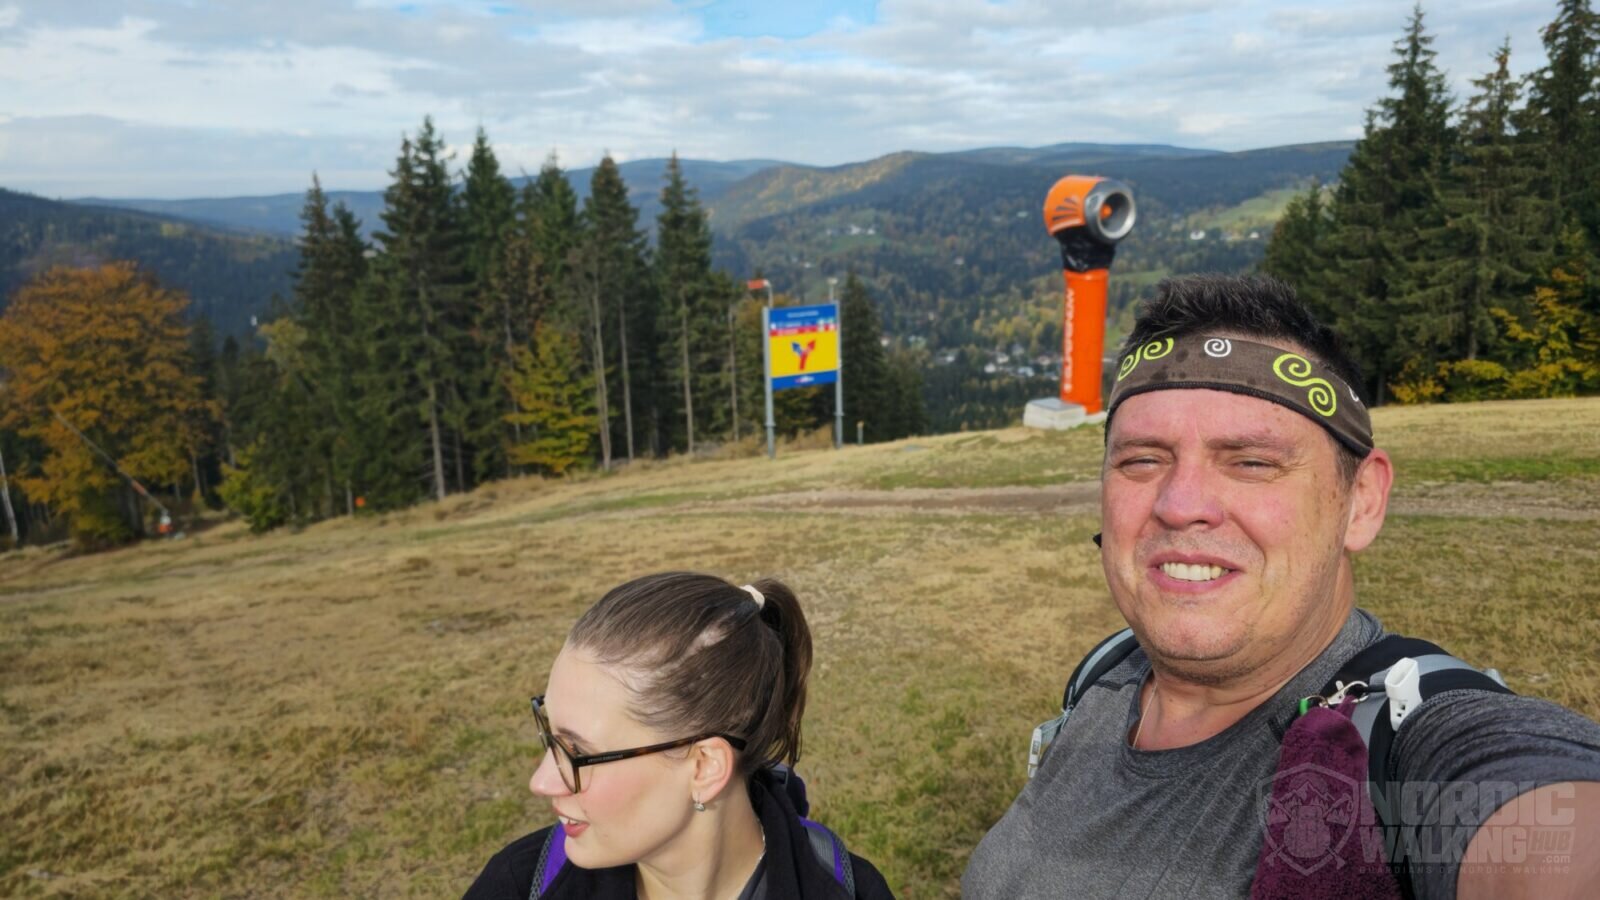
    Our first photo stop on the autumn slopes.
    Our first photo stop on the autumn slopes.
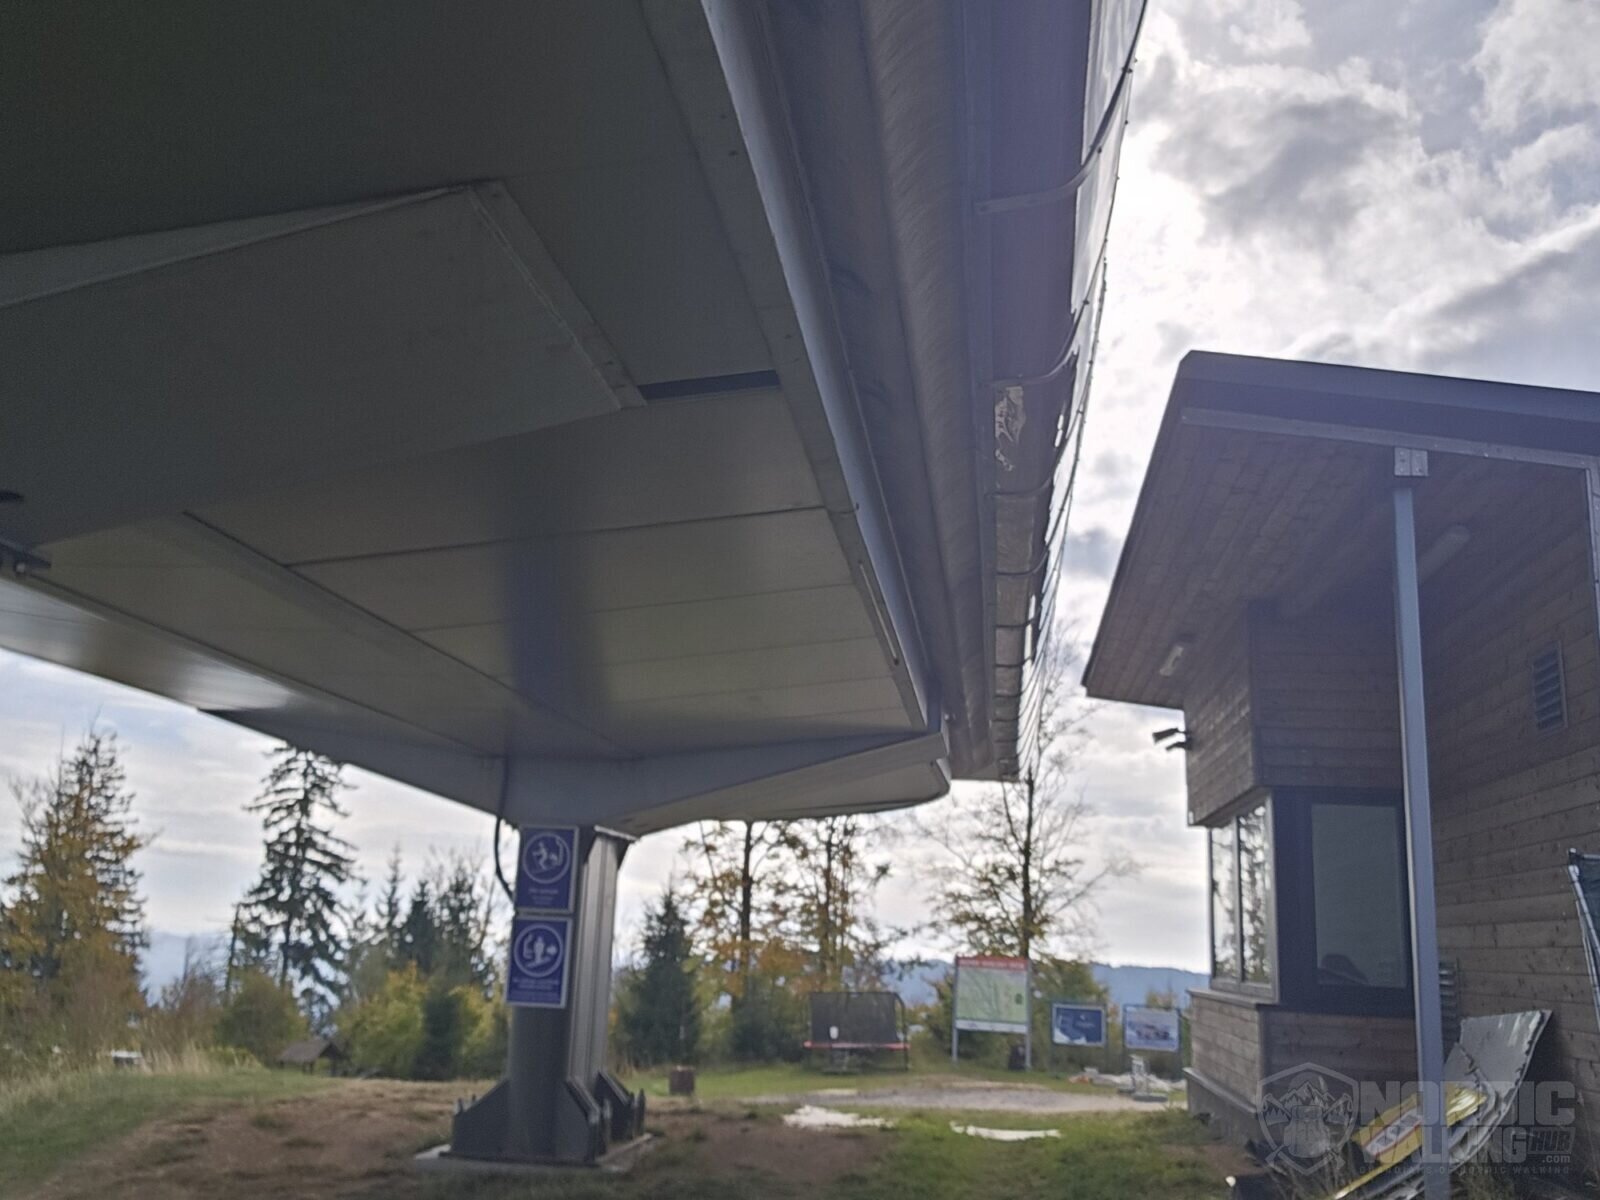
    The lift was taking the day off. Our legs weren’t.
    The lift was taking the day off. Our legs weren’t.

    A warm welcome. From a witch.

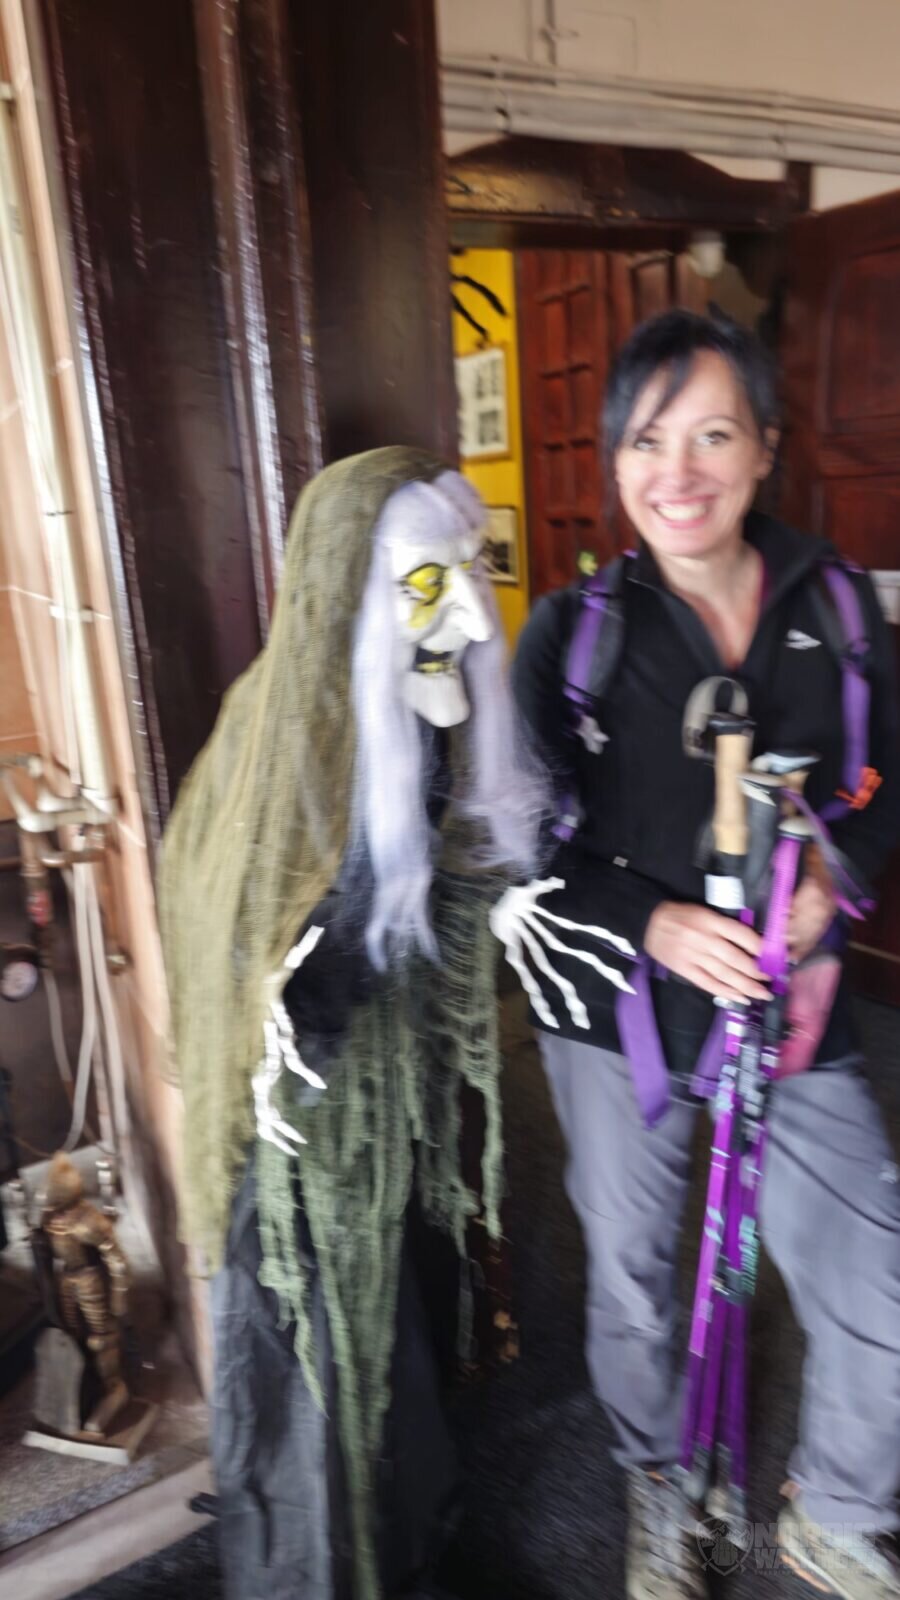
    A close encounter with the witch at the door.
    A close encounter with the witch at the door.

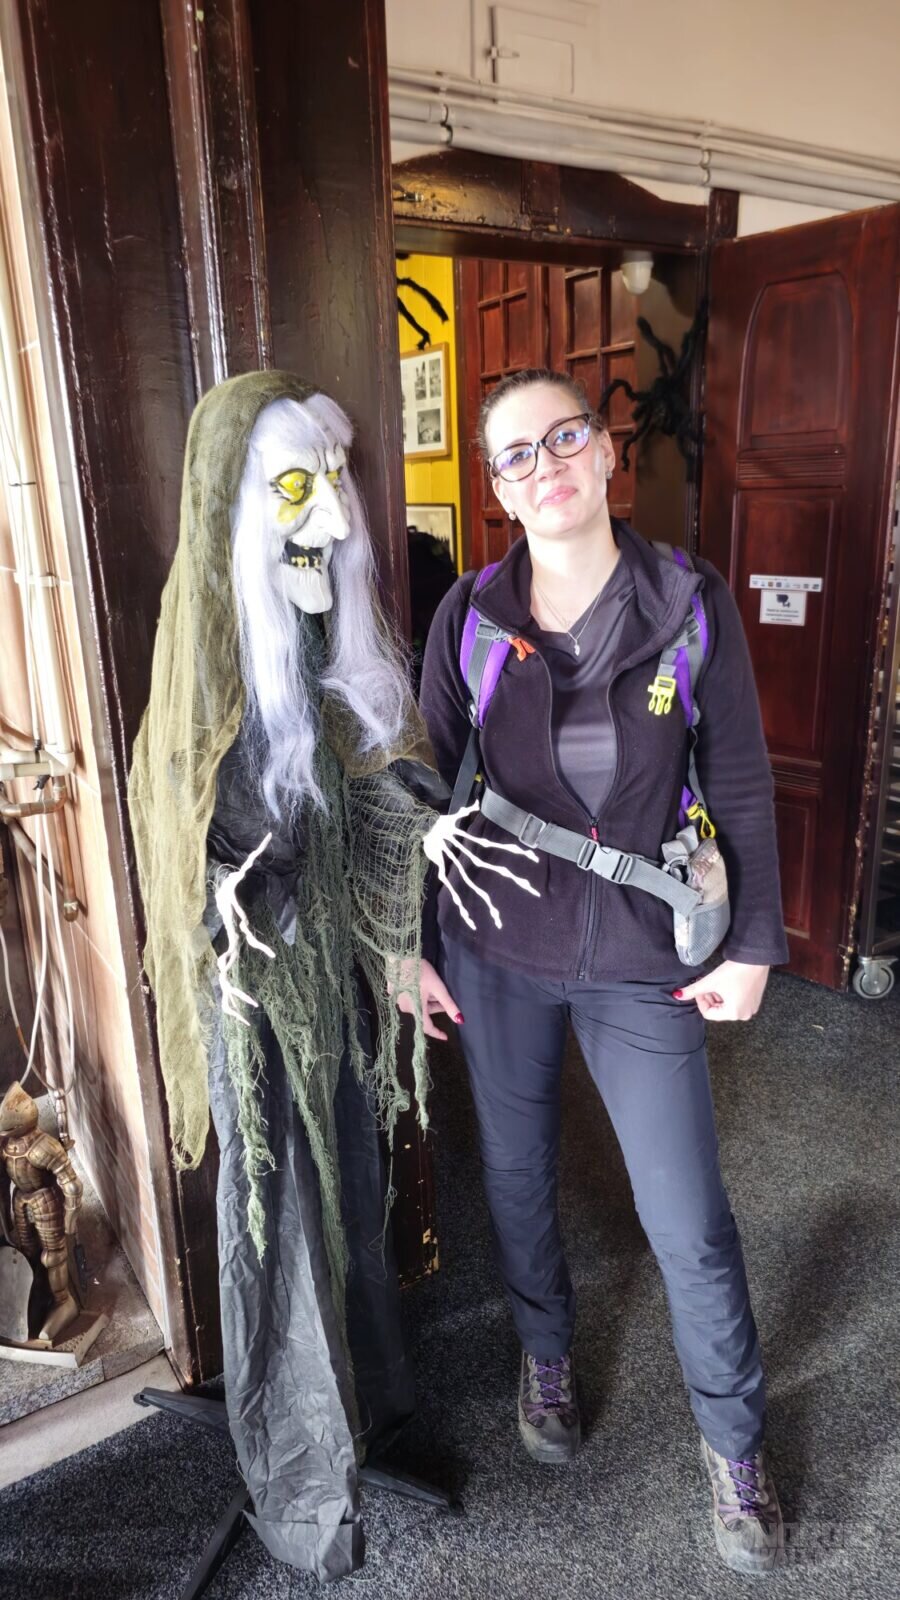
    We made it in the end. Chata Špičák was decked out for autumn, complete with witches. One stood right beside the entrance, looking for all the world like an ordinary decoration. We had badly underestimated her.

    Whenever someone walked past, she let out a “hee-hee-hee-hee!” and they jumped out of their skin. Some flinched, some leapt backwards, and some looked ready to find somewhere else for lunch. We sat there watching and laughing. The poor new arrivals had no idea there was a show on at the door, let alone that they were about to star in it.
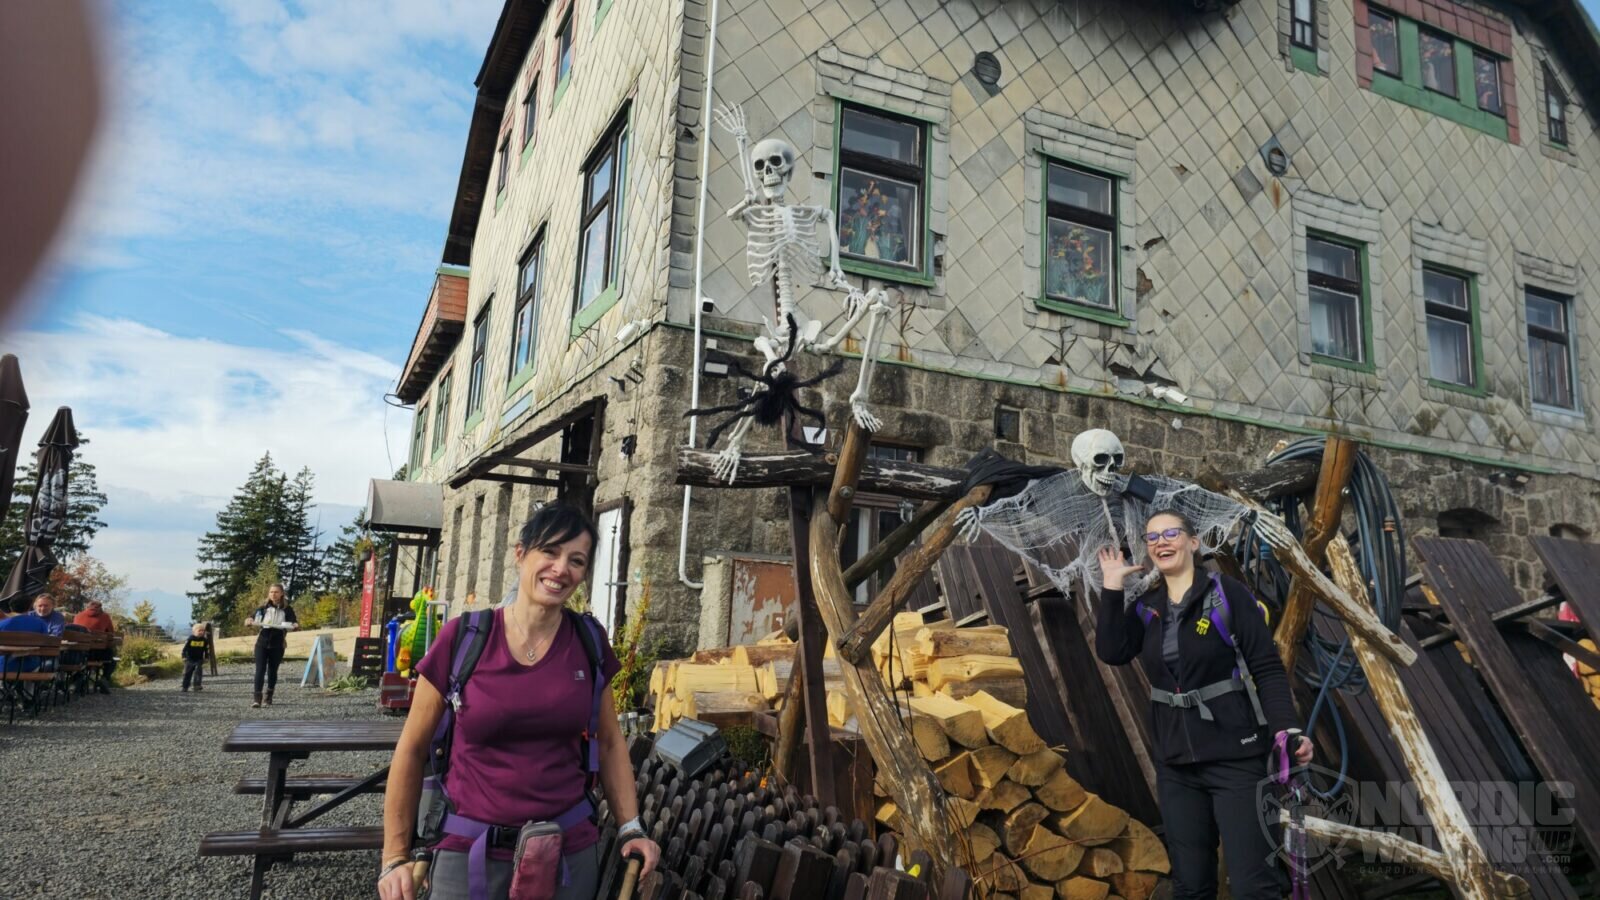
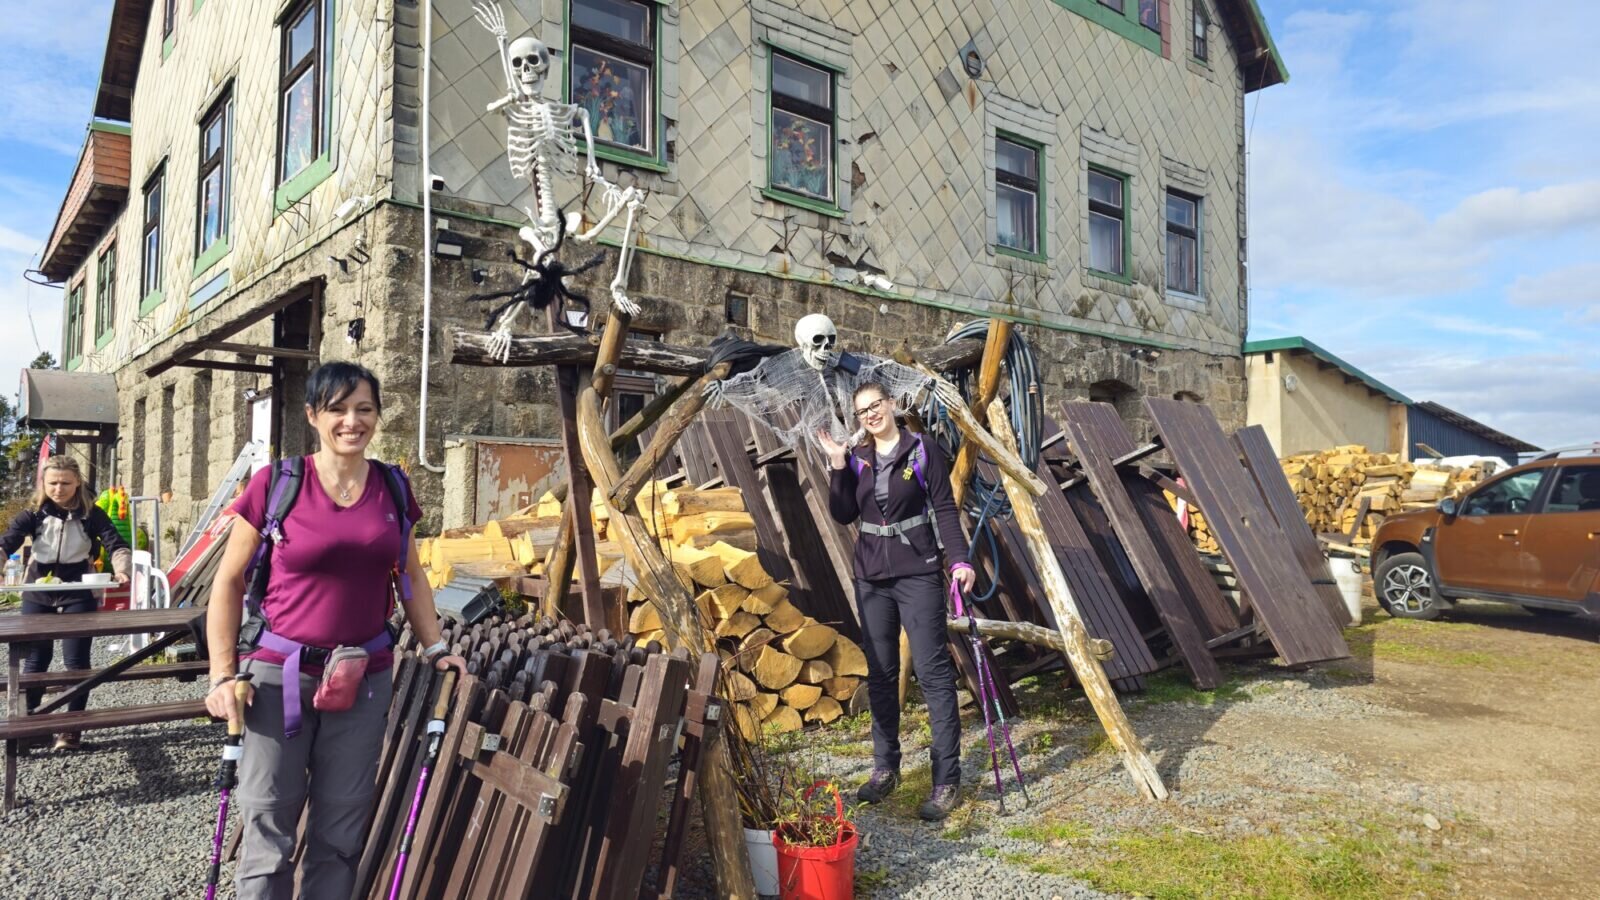
    Witch decorations welcomed us at the lodge.
    Witch decorations welcomed us at the lodge.
    A stop outside Chata Špičák.
    A stop outside Chata Špičák.

    A meal, a rest and live entertainment: quite a reward for the climb. We took a few photos with the witch, too. The women posing beside her were much friendlier.
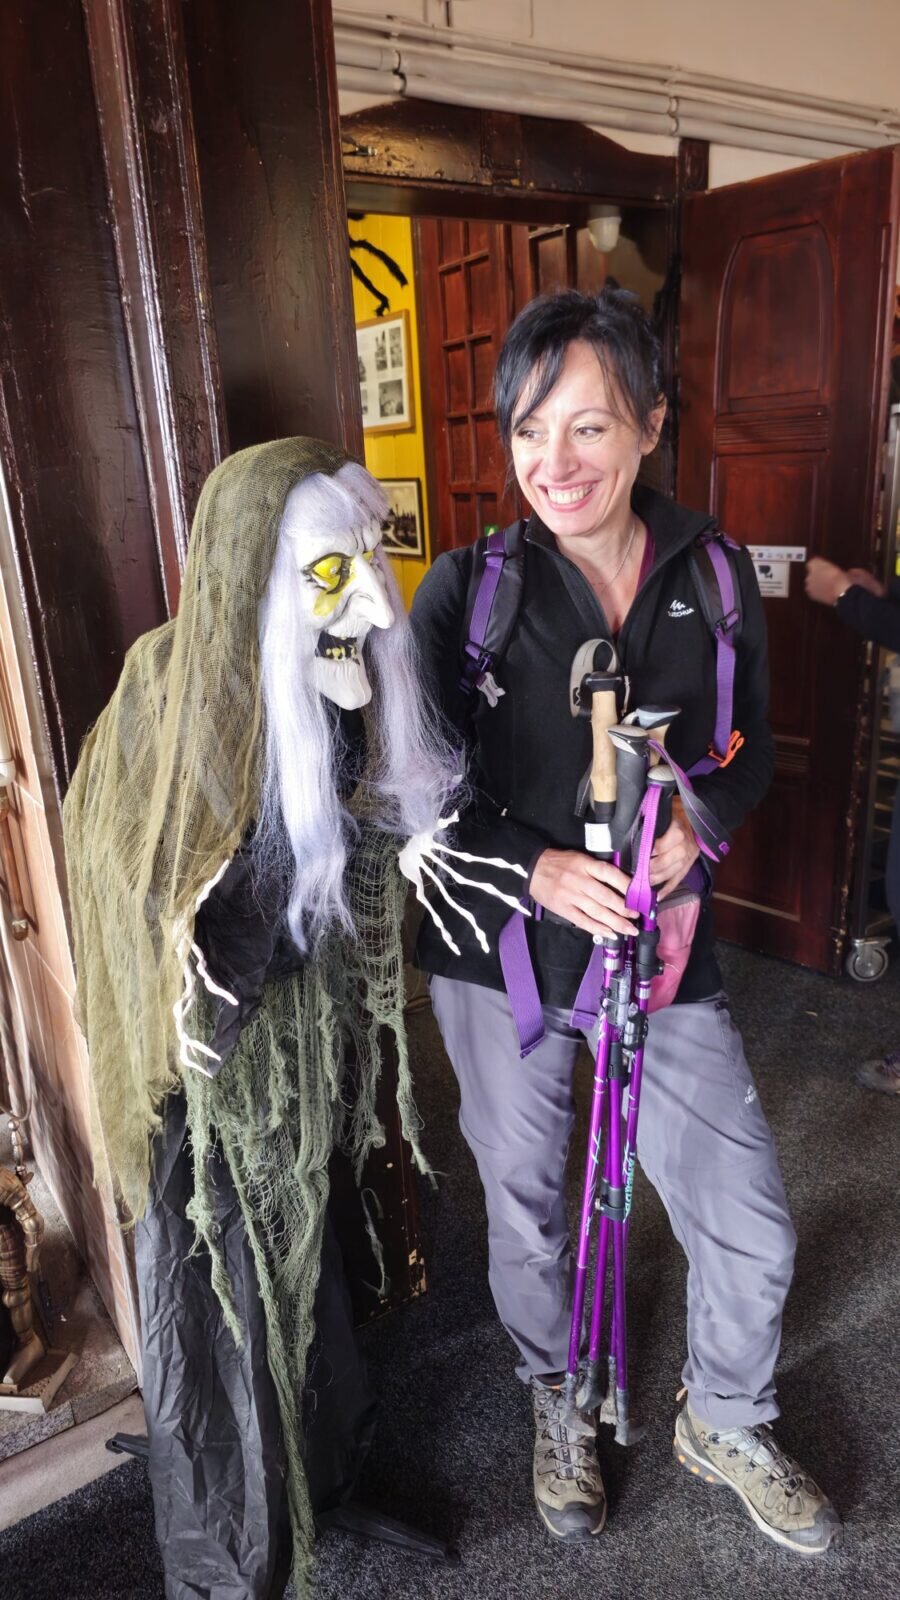
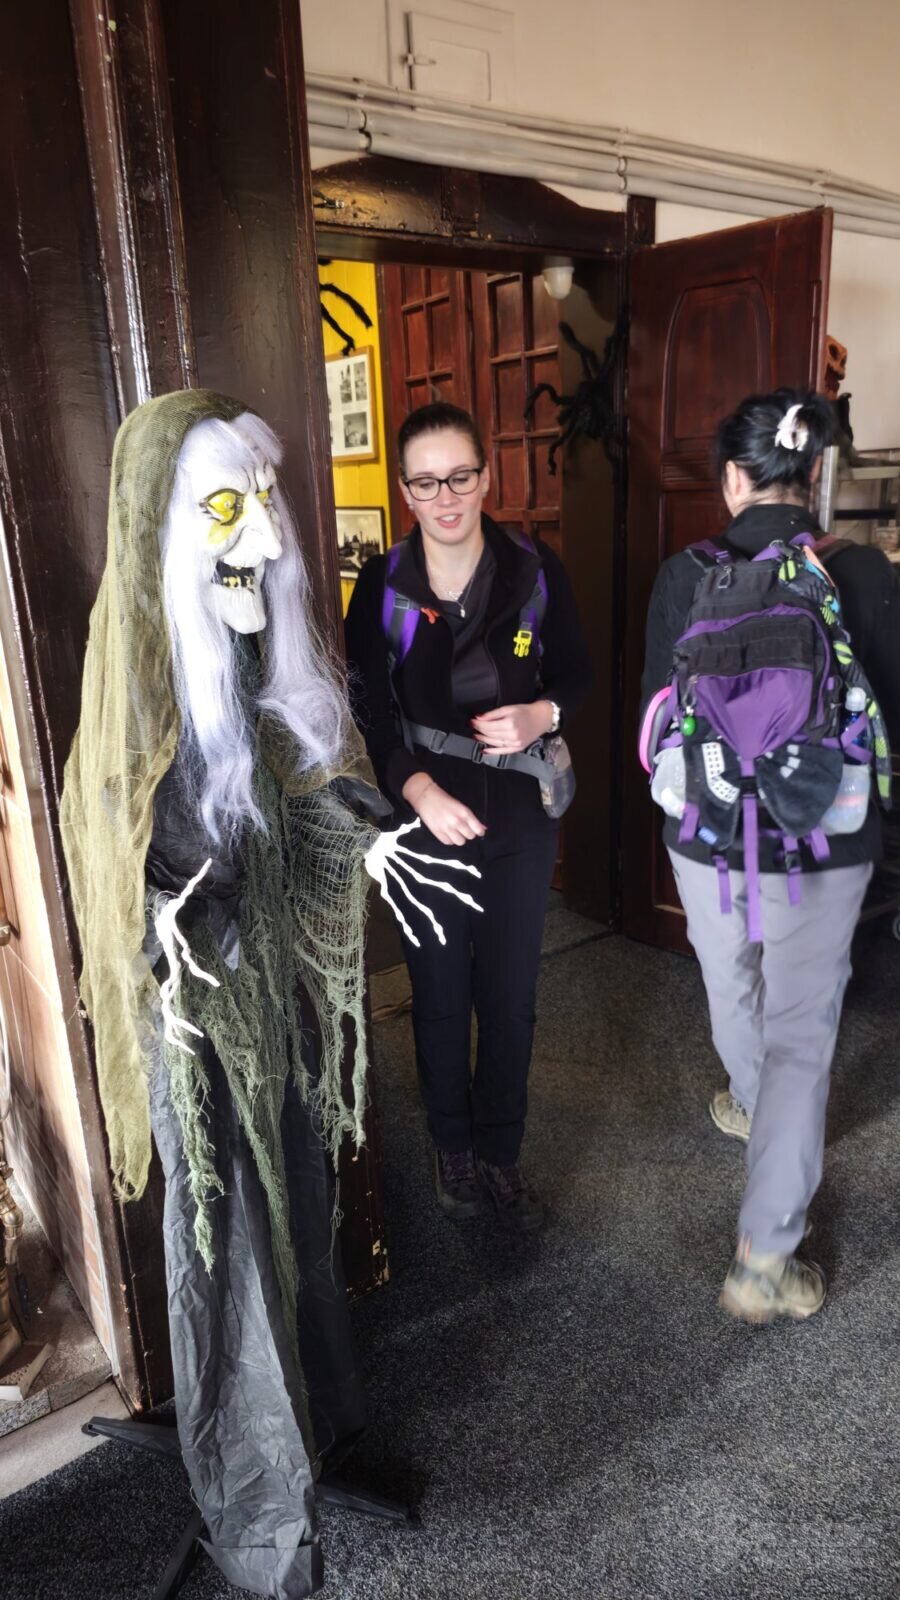
    A photo with the star of the day.
    A photo with the star of the day.
    There was plenty of entertainment at the entrance.
    There was plenty of entertainment at the entrance.
    One more photo with the witch.
    One more photo with the witch.

    A meal worth the climb

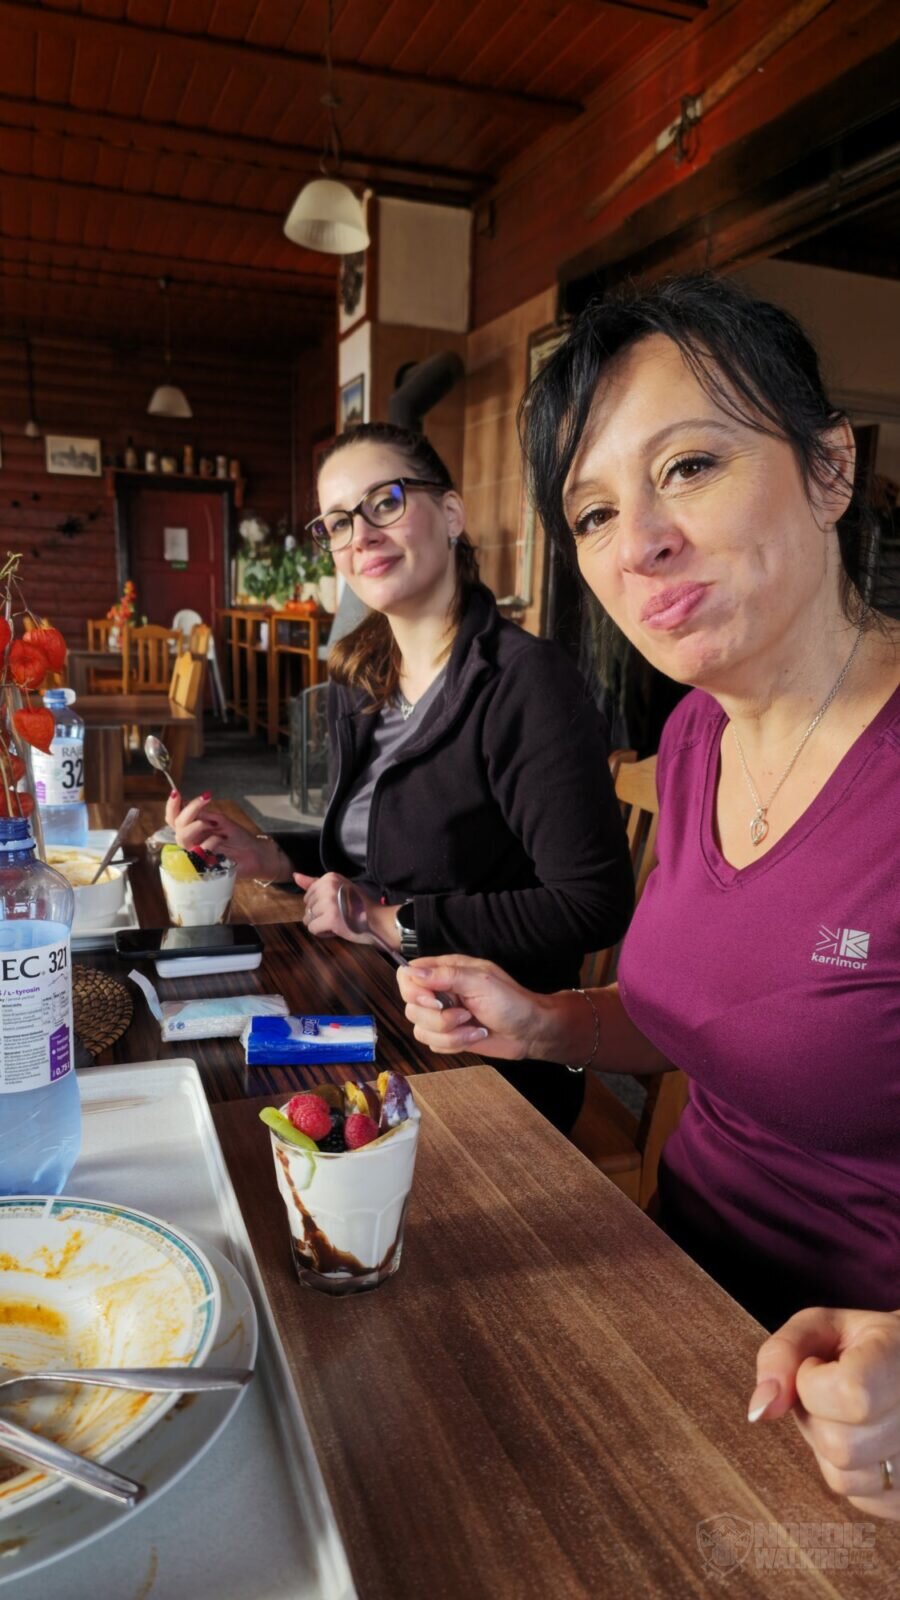
    A well-earned rest at the table.
    A well-earned rest at the table.

    Then came the food. And this bit is no joke: the cooking at Špičák is excellent. It was one of the best meals I’ve had anywhere in the area, followed by some lovely cake. We ate so well that words failed us. All we could manage were happy noises.

    We sat back, recovered from the climb and watched the witch claim her next victims. The hill could wait outside for a while.

    Full stomachs, downhill all the way

    Then it was time to head back down towards home. The autumn slopes were still looking their best, and we stopped for more photos together. Now we knew what was waiting at the top: a very good meal and a witch who really knew how to make an entrance. Or, rather, how to stop everyone else making one.
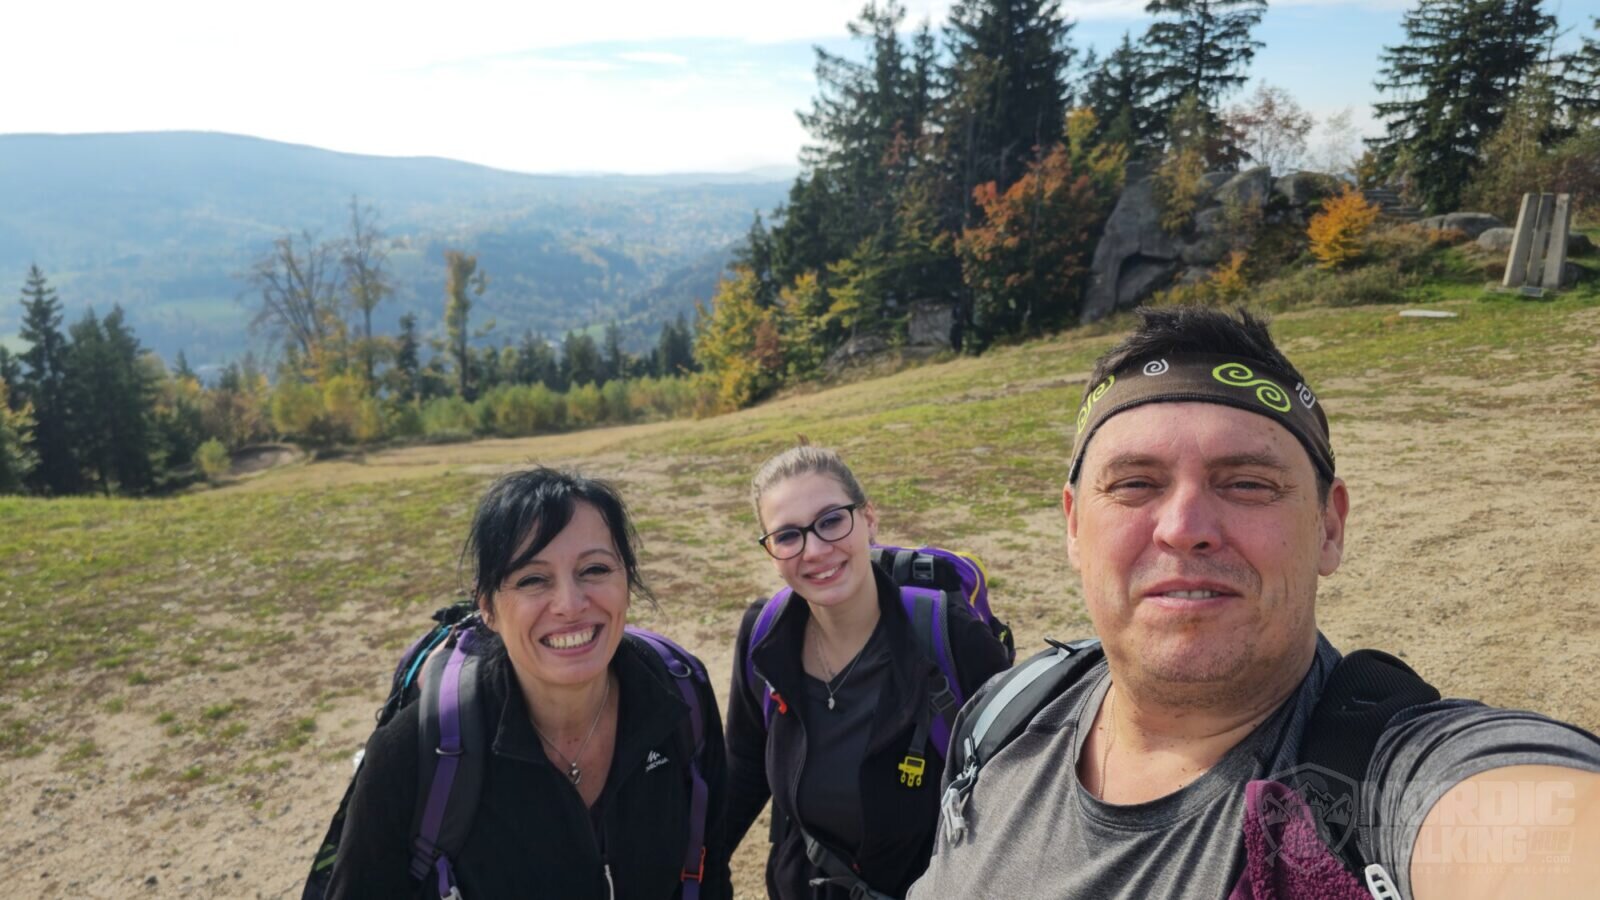
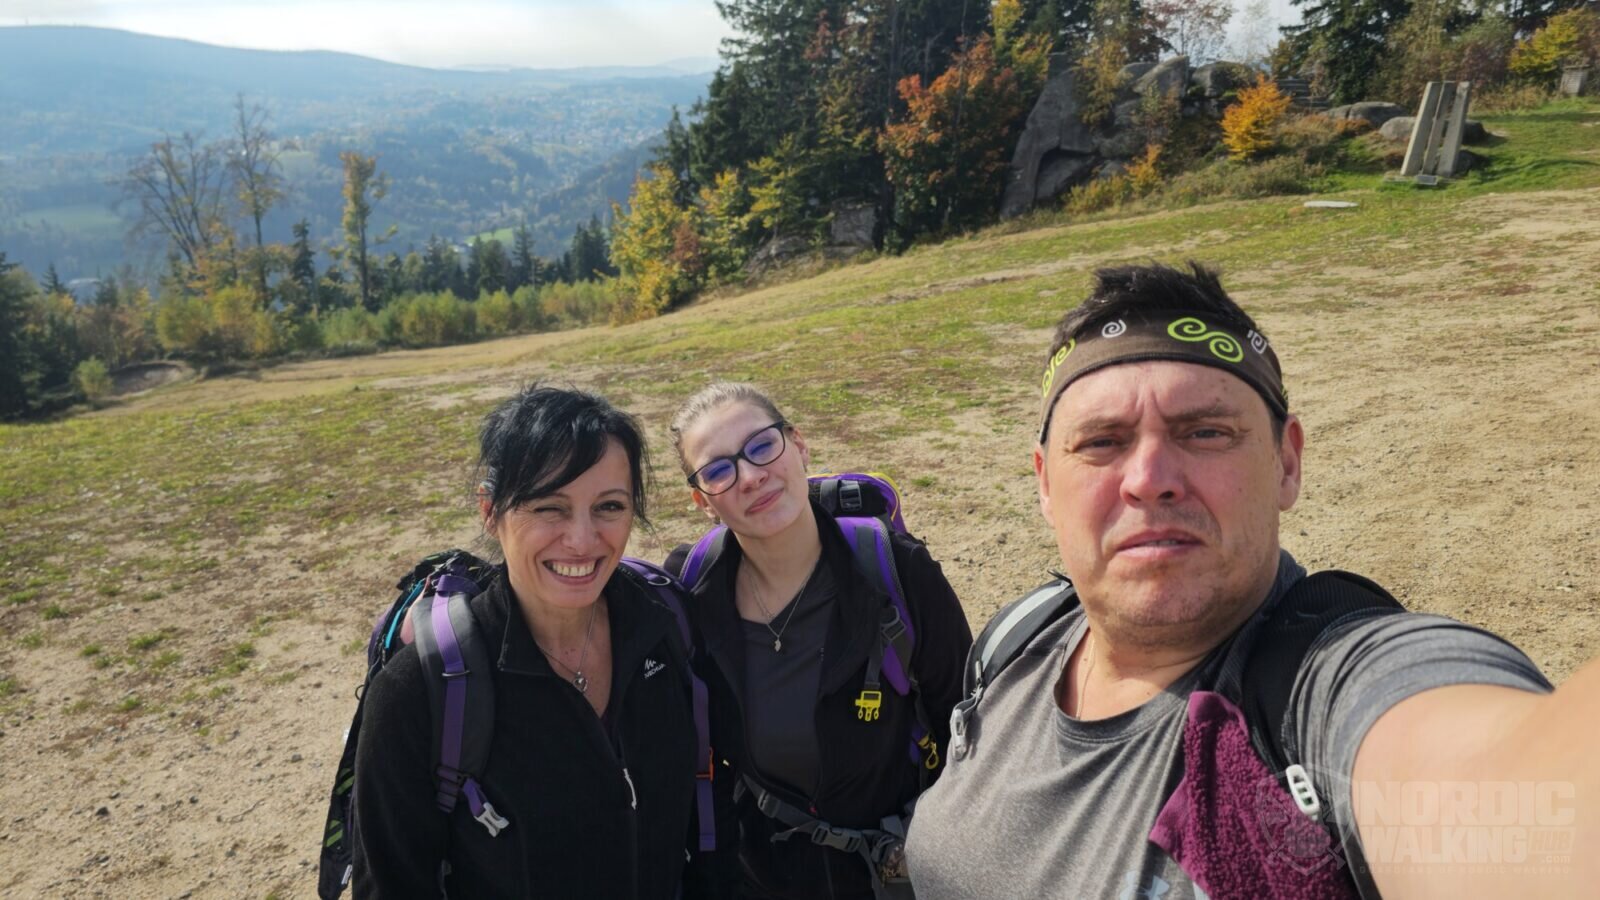
    Back on the slope after our lodge stop.
    Back on the slope after our lodge stop.
    Autumn views and a group photograph.
    Autumn views and a group photograph.

    We came home with autumn views, a few stumbles and a story we’ll be laughing about for a long time. Špičák made us work for our lunch, then fed us well and gave us a good laugh. That’s a Saturday well spent.
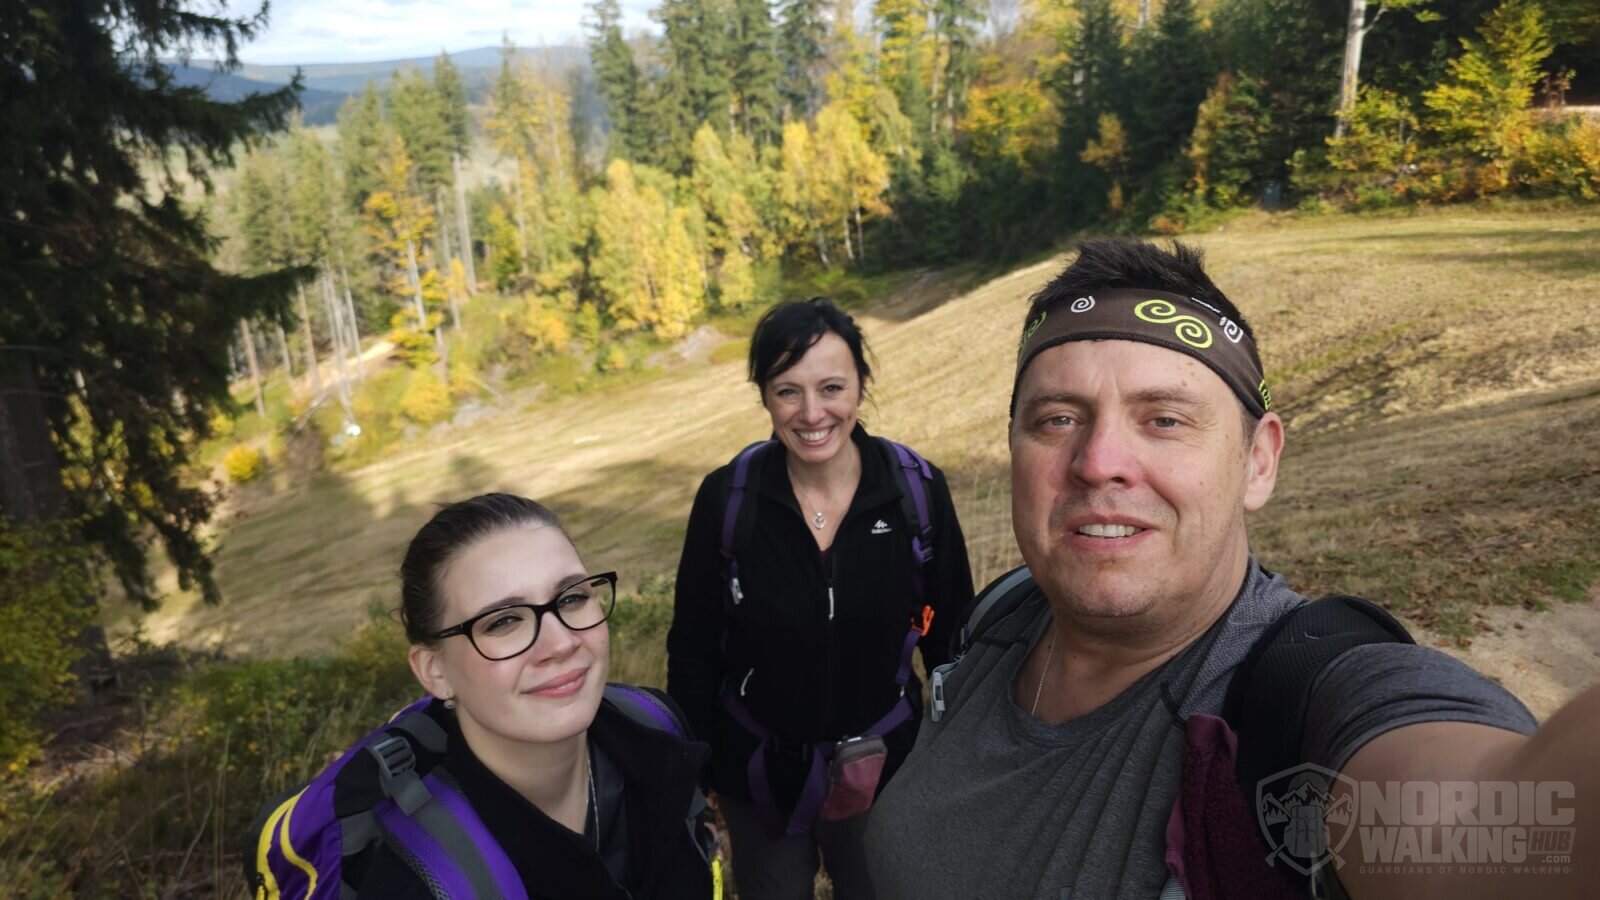
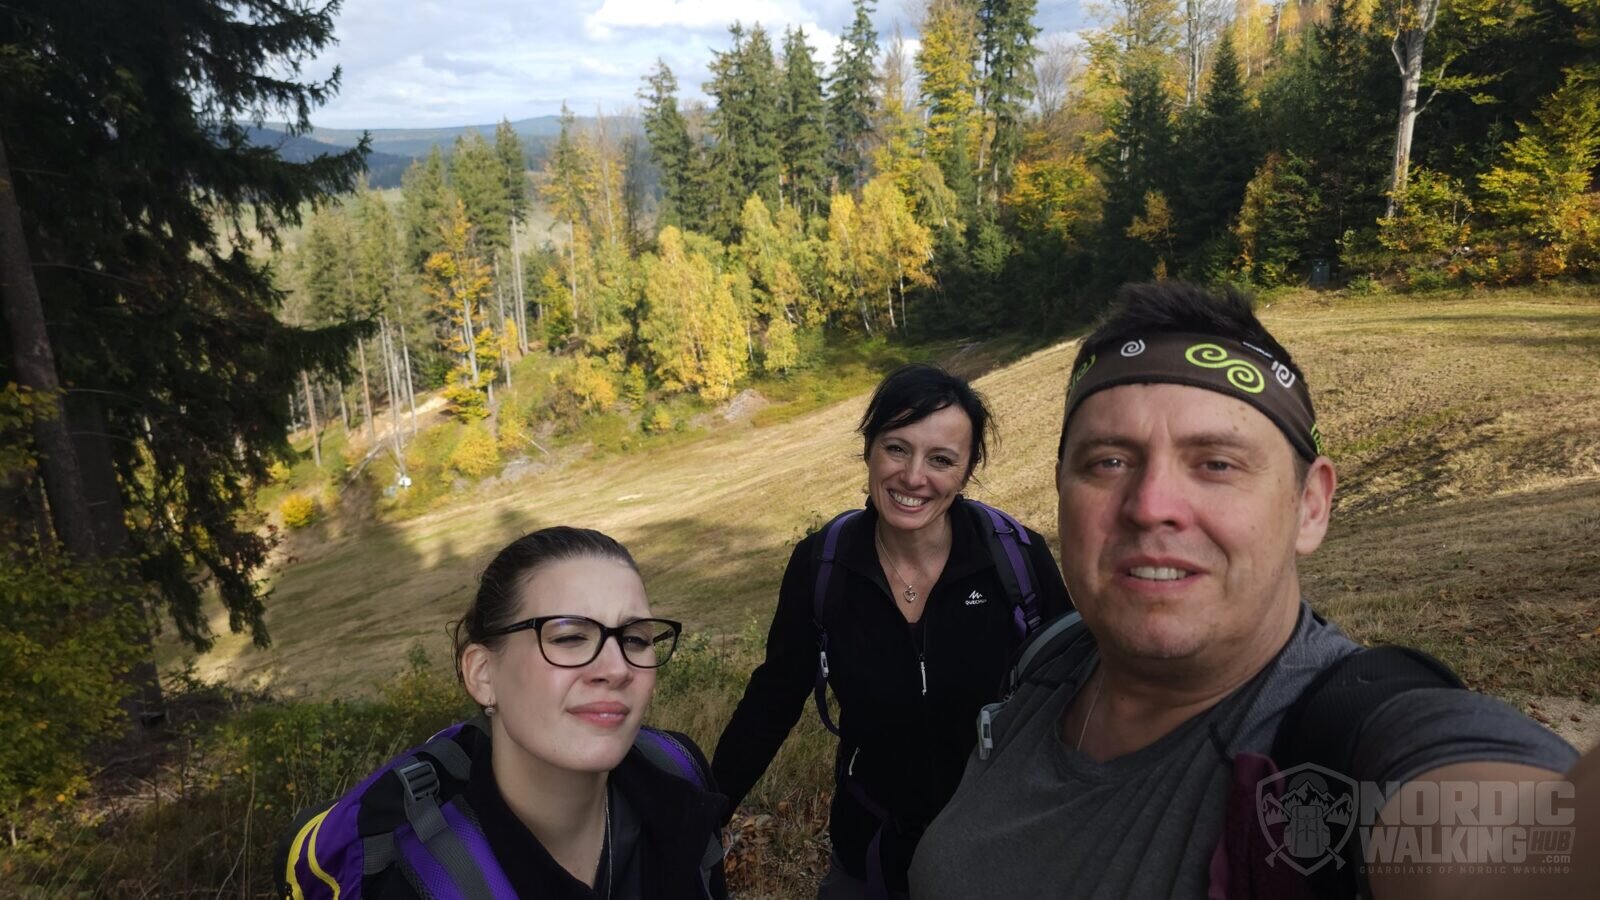
    Heading down among the autumn trees.
    Heading down among the autumn trees.
    One more photo to remember the day by.
    One more photo to remember the day by.
    Down the slope with walking poles.
    Down the slope with walking poles.
    The last photo in the series: returning from Špičák.
    The last photo in the series: returning from Špičák.

    Our own photographs from the walk on 17 October 2026.
  • Garmin and Nordic Walking: using Rucking to estimate calories

    Garmin and Nordic Walking: using Rucking to estimate calories

    You own a Garmin and enjoy walking with poles. Your watch gives you your route, time and heart rate, but you want the work your arms are doing to count too. Rucking mode offers one way to explore the settings. It lets you enter a pack weight, which Garmin can use in its calorie estimate. Here’s how that works and how to think about a virtual backpack.

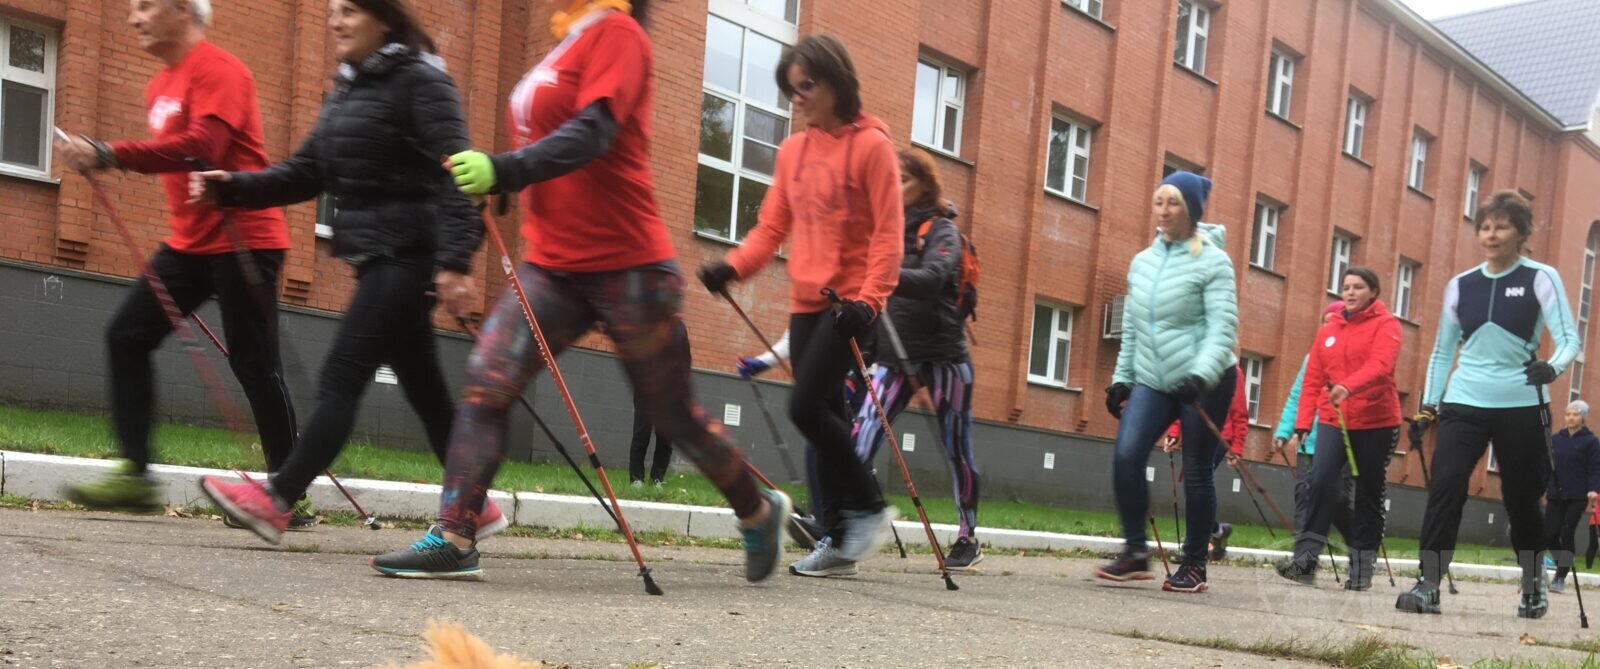
    A group of people Nordic Walking with poles
    A group out Nordic Walking. Illustrative photo: Vijay.shivu / Wikimedia Commons, CC BY-SA 4.0. Web previews resized.

    Rucking means walking with an extra load. Nordic Walking adds a push through the poles. Both can make a walk more demanding, but they do it in different ways. If you already like your Garmin, it makes sense to understand the options you have. One missing sport profile doesn’t mean you have to rush out and buy another watch.

    Setting up Rucking

    On a compatible Garmin, open the Rucking activity and look for Pack Weight in its settings. Models offering this include the fēnix 8, Forerunner 570 and 970, Instinct 3, Enduro 3 and Venu 4. Availability also depends on the watch software. Before heading out, check the weight units: our table uses kilograms.

    If you’re actually carrying a backpack, weigh it with everything inside, including your water and spare clothes. That’s what the setting is designed for. When you walk without that load, entering a weight creates a virtual pack: a substitute input that may change the calculation. Label the activity “Nordic Walking — virtual pack” so you can still make sense of it a month later.

    Leave your real body weight in your user profile. A virtual load belongs in the pack setting, rather than being added to your own weight. Afterwards, return the pack setting to the weight you’re genuinely carrying. Otherwise, that imaginary backpack can follow you into your next ordinary walk or hike. It’s a small detail that’s easy to forget.

    Find your weight and walking pace

    The table covers body weights from 40 to 150 kg and three walking speeds. Its chosen target is a 16% increase in total walking energy expenditure. Find your weight and the pace closest to your outing. At 135 kg and 5 km/h, the model gives an equivalent pack of 28.0 kg. At 40 kg and the same pace, it gives 8.3 kg.

    These figures come from the Pandolf load-carriage model, assuming level ground, a firm surface and the same walking duration. They represent a 16% increase in total energy expenditure. Use them as an illustration when thinking about a virtual pack; Garmin has its own calculation, so the same weight doesn’t guarantee 16% more active calories on your watch. The table isn’t advice to physically carry these loads.

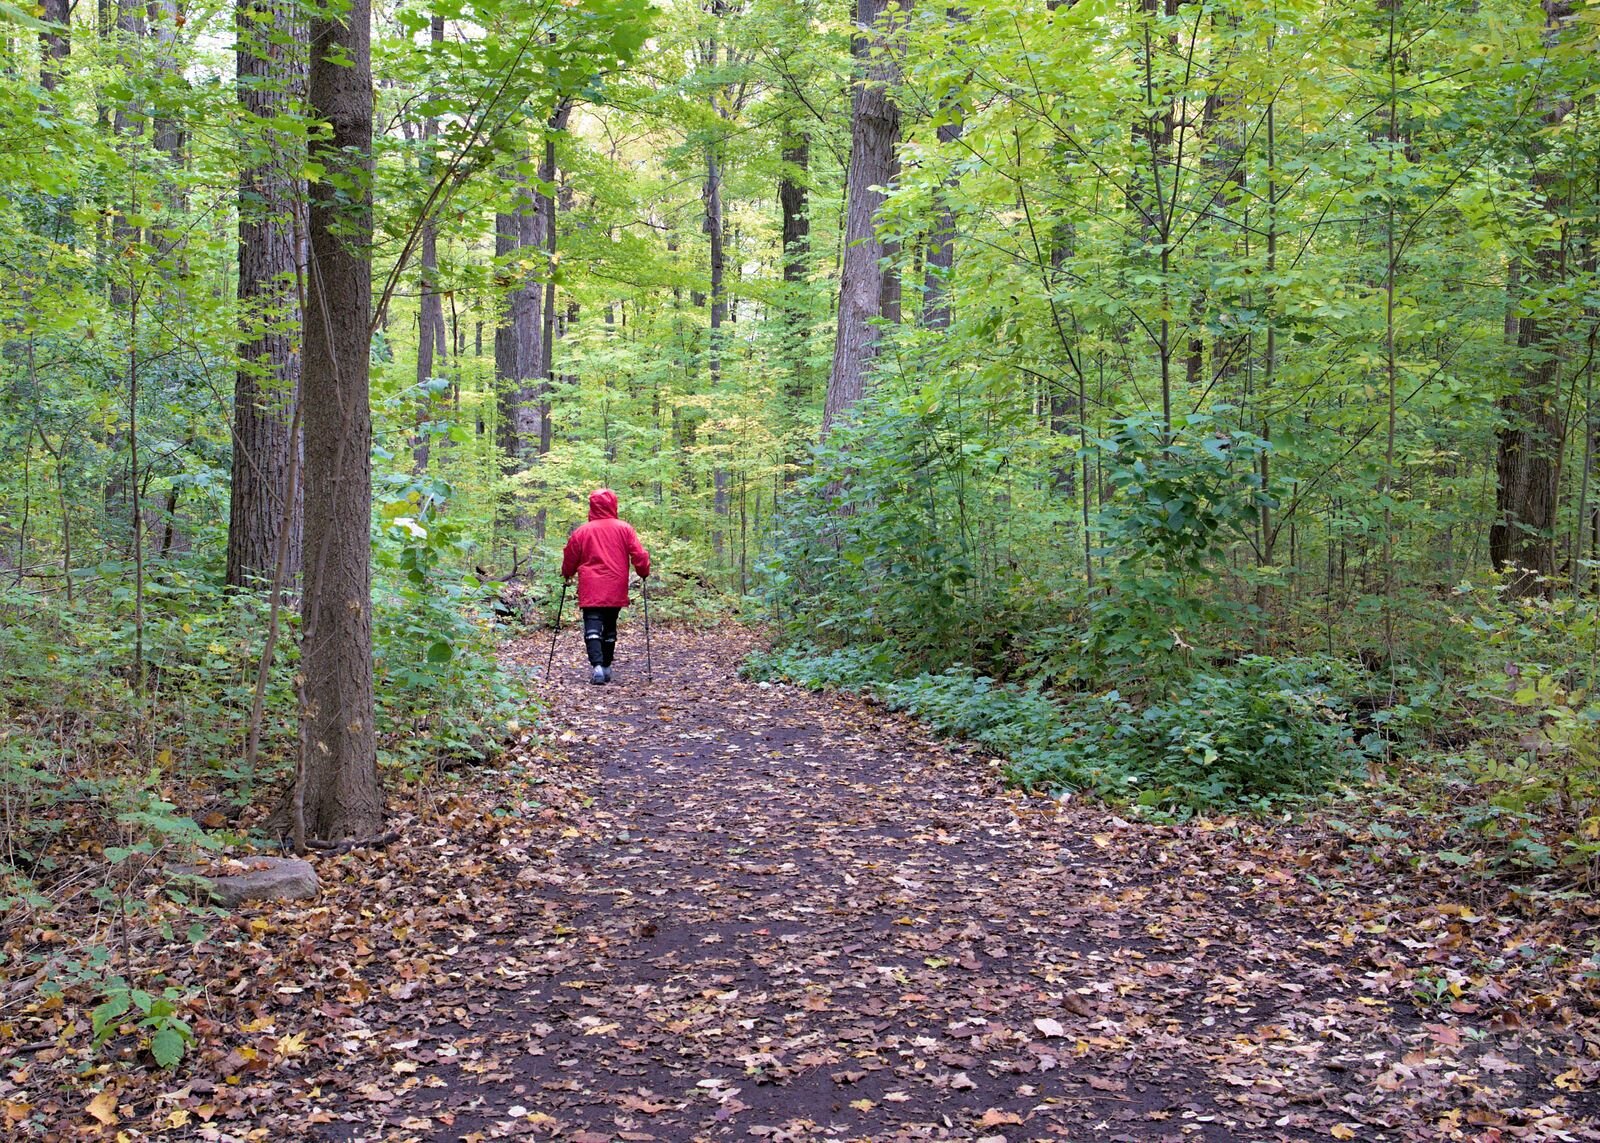
    A person in a red jacket walking with poles on a forest trail
    Walking with poles on a woodland trail. Illustrative photo: Ghost Acolyte / Pexels. Pexels. Resized for the web.
    Modelled pack for 16% more total walking energy
    Body weight4 km/h5 km/h6 km/h
    40 kg8.9 kg8.3 kg7.8 kg
    45 kg10.1 kg9.3 kg8.8 kg
    50 kg11.2 kg10.4 kg9.8 kg
    55 kg12.3 kg11.4 kg10.8 kg
    60 kg13.4 kg12.4 kg11.7 kg
    65 kg14.5 kg13.5 kg12.7 kg
    70 kg15.6 kg14.5 kg13.7 kg
    75 kg16.8 kg15.5 kg14.7 kg
    80 kg17.9 kg16.6 kg15.7 kg
    85 kg19.0 kg17.6 kg16.6 kg
    90 kg20.1 kg18.6 kg17.6 kg
    95 kg21.2 kg19.7 kg18.6 kg
    100 kg22.4 kg20.7 kg19.6 kg
    105 kg23.5 kg21.7 kg20.5 kg
    110 kg24.6 kg22.8 kg21.5 kg
    115 kg25.7 kg23.8 kg22.5 kg
    120 kg26.8 kg24.9 kg23.5 kg
    125 kg27.9 kg25.9 kg24.5 kg
    130 kg29.1 kg26.9 kg25.4 kg
    135 kg30.2 kg28.0 kg26.4 kg
    140 kg31.3 kg29.0 kg27.4 kg
    145 kg32.4 kg30.0 kg28.4 kg
    150 kg33.5 kg31.1 kg29.3 kg

    Why does pack weight change with walking pace? Because speed and load work together in this model. For someone weighing 100 kg, the equivalent is 22.4 kg at 4 km/h, 20.7 kg at 5 km/h and 19.6 kg at 6 km/h. Simply taking 16% of body weight would miss that relationship. That’s why there are three speed columns rather than one number for everyone.

    Keep your activity records clear

    Garmin also uses pack weight for other training figures. It says some estimates, including VO₂ max, lactate threshold and maximum heart rate, aren’t produced when the pack exceeds 10% of body weight. The equivalents in our table cross that threshold. A virtual backpack therefore affects a wider set of training assumptions, rather than being a separate calorie adjustment.

    For your own notes, you could put a simple comparison beside the original watch figure: 300 kcal × 1.16 = 348 kcal. It’s clear where that number comes from. Bear in mind that your higher heart rate while using poles may already capture some of the extra effort. Adding the same percentage to every activity can end up counting part of it twice.

    Keep your Garmin. Ask for more.

    My take? This is a useful way for Garmin owners to get to know their watch’s settings. I’d still rather select Nordic Walking and have the watch account for the sport I’m actually doing. That’s a job for the manufacturer. Meanwhile, good pole technique, regular outings and understanding where the numbers come from are worth more than chasing a prettier calorie total.

    Sources and table calculation

    Garmin: Rucking Science; Using the Rucking Activity Profile on a Garmin Watch; Learn More About Tracking Calories on Garmin Devices. Pandolf, Givoni and Goldman, Journal of Applied Physiology (1977), DOI 10.1152/jappl.1977.43.4.577. The calculation assumes a level surface and seeks a pack weight giving M(load)/M(no load) = 1.16. Rounded to 0.1 kg. Sources reviewed on 4 October 2026.
  • Getting started: your first week with poles

    You have your poles, the weather is nice and you are not sure how to begin? Good news: this is not a science. It is not about performance, or about walking “correctly” straight away. It does pay off, though, not to rush in the first week and to learn the movement in small pieces instead of trying everything at once. Here is a plan you can take as it is, or adjust, and with it everything you need to know about starting.

    Photo from the trail

    The basic idea

    One small thing per walk. A pace at which you can still talk. And no hurry. For beginners, two to three short walks a week are recommended, each 20 to 40 minutes at an easy pace. Walking regularly matters more than how hard you walk. Coordination first, speed and distance later.

    Before you set off

    **Shoes.** They do not have to be anything special: comfortable trainers are usually enough. What matters is that they are flexible and low, because in Nordic Walking the foot rolls from heel to toe. Stiff hiking boots restrict that, and a rigid sole can cause pain in the arch or on the shin after a while.

    **Clothing.** Light layers, gloves in the cold. Avoid bulky jackets that stop you swinging your arms. If you can, choose functional materials that wick moisture instead of cotton, and clothing that does not rub anywhere when your arms move.

    **Poles.** They must be Nordic Walking poles, not ordinary trekking poles, and they should be the right length. That is covered in a separate article. Adjustable poles are good until you are sure which length suits you. The poles come with a strap: it takes a while to get used to, but it is what lets you release your hand without the pole falling.

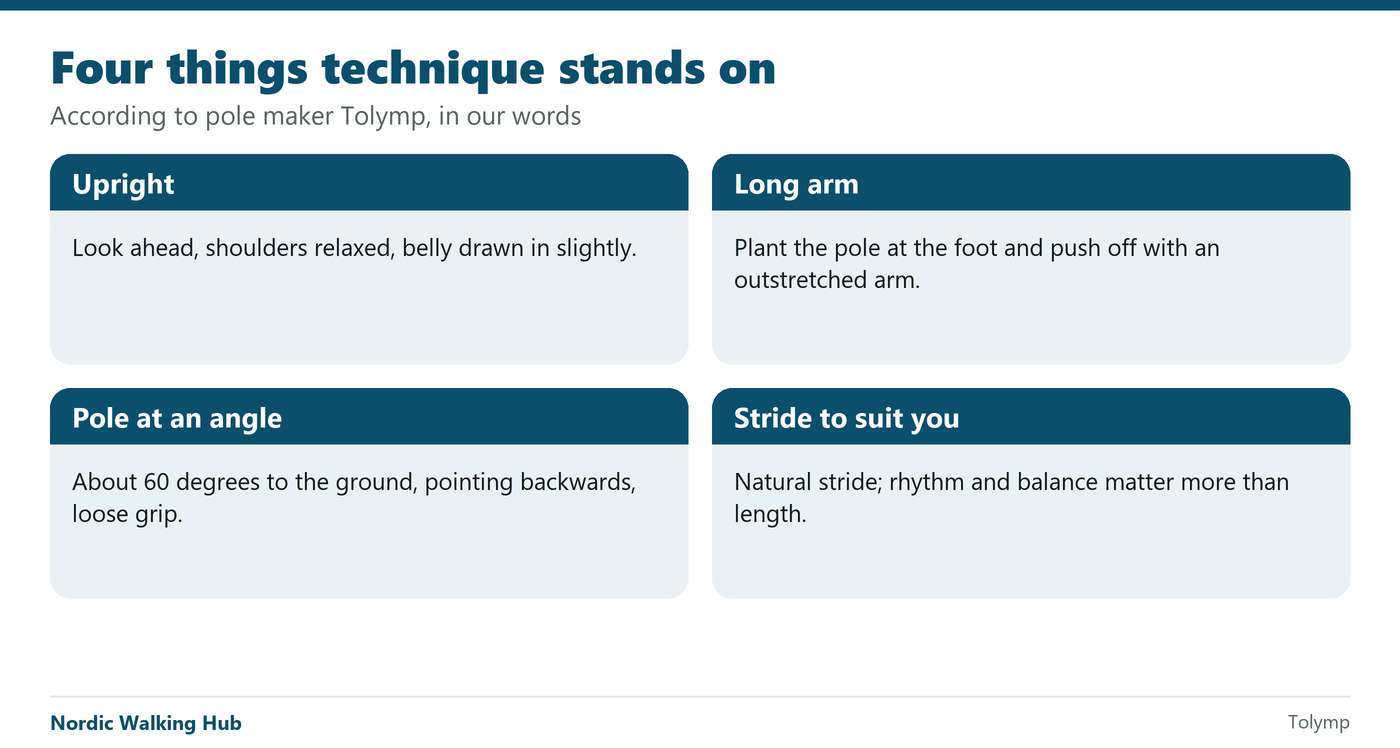
    Four things you learn

    The pole maker Tolymp sums them up in four letters, ALFA. We will say them more simply.

    • **Upright.** Look ahead, not at your feet. Keep your shoulders relaxed. Imagine someone gently lifting your breastbone, and draw the belly in slightly.
    • **Long arm.** The arm swings freely back and forth. You plant the pole at the foot and push off from it with an outstretched arm, and withdraw it before the next step.
    • **Pole at an angle.** It is held at roughly 60 degrees to the ground and points backwards. The grip is loose: thumb and forefinger form the letter O.
    • **Stride to suit you.** Start with the natural stride that is most comfortable. Only then change it according to how demanding you want the training to be. Rhythm and balance are what matters.

    A suggestion for the week

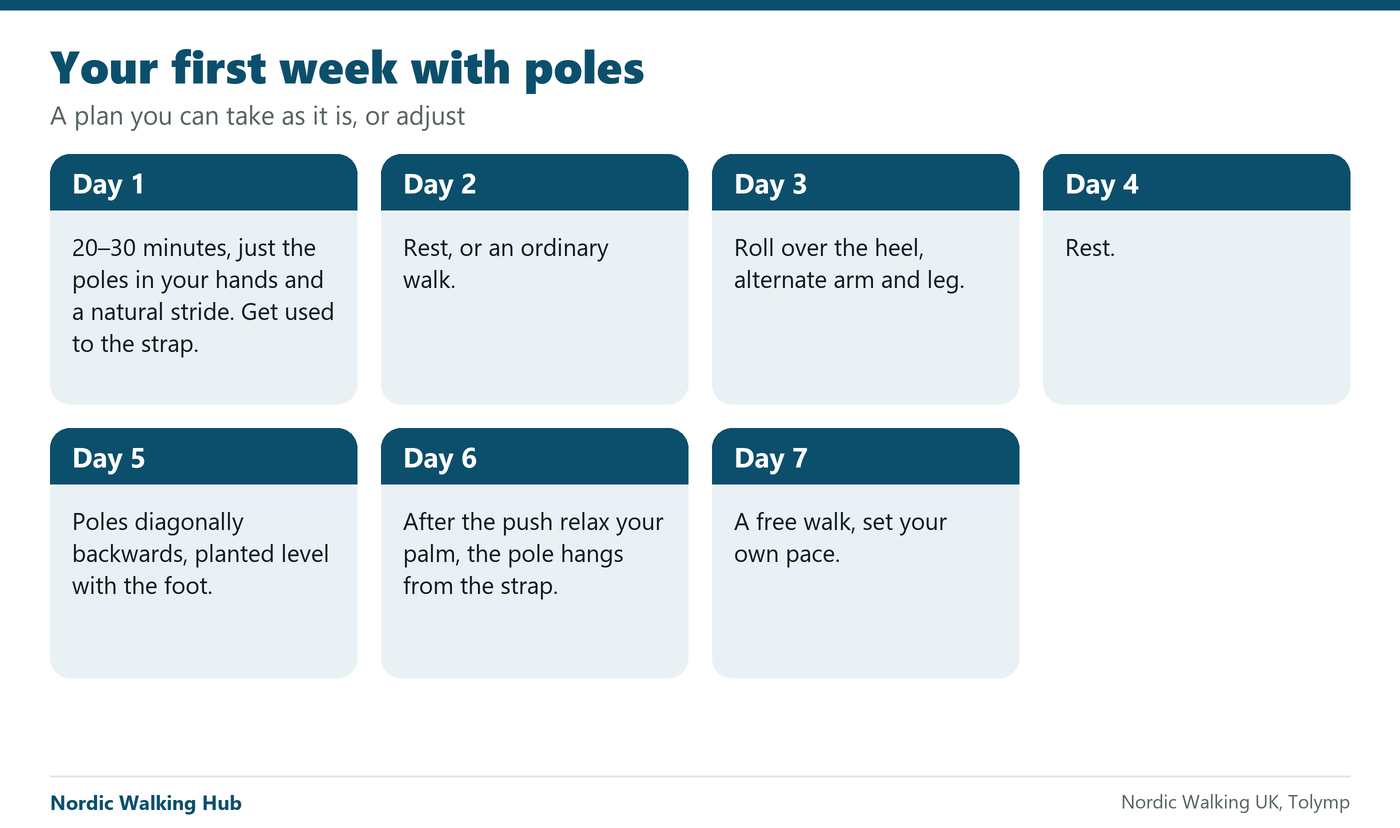
    • Day 1: 20–30 minutes, just the poles in your hands and a natural stride. Get used to the strap. Let the poles trail behind you.
    • Day 2: rest, or an ordinary walk.
    • Day 3: focus on rolling over the heel and alternating arm and leg: right foot forward, left arm forward.
    • Day 4: rest.
    • Day 5: the poles point diagonally backwards and are planted roughly level with your foot.
    • Day 6: once your hand has passed the hip, relax your palm and let the pole hang from the strap.
    • Day 7: a free walk, set your own pace.

    You do not have to keep to the plan day by day. If one step does not work yet, stay with it a little longer. After a week you will not be a Nordic Walker, but you will see what comes naturally and what needs time.

    When something does not work

    Three difficulties recur in almost everyone, and each has a simple fix.

    • **You walk like a “rower”, the same arm with the same leg.** Walk for a while without planting the poles: let them drag behind you on their straps, and after a while the arm and leg cross naturally, as the body is used to.
    • **You plant the pole too far forward.** Plant it at an angle of about 45 degrees between your feet, not in front of you. A pole in front of the body brakes you instead of moving you forward.
    • **You grip the pole tightly.** A firm grip belongs to the moment of planting. As soon as your hand passes the hip, open your palm and let the strap hold the pole.

    What to expect

    The first walks may feel clumsy, and that is fine. Your attention belongs to the coordination of arms and legs, not to speed or distance. Once the alternation comes by itself, speed will follow. Do not compare yourself with people who have walked for years.

    With whom and where

    If you like company, look for a group near you, or an instructor. In a first lesson the poles are usually adjusted, the alternation of arms and legs is shown and a short route is tried. That is the part people find hardest to learn alone. And someone who goes with others does not give up so easily.

    And if the first week only goes half right, that is fine. Start again from day one, the poles are not going anywhere. Nobody is judging how fast you learn Nordic Walking. What matters is that you went outside and moved, and that you enjoyed it, or at least a little.

    How did your first week go? Tell us in the forum what came easily and where you got stuck.

    Chart
    Photo from the trail
    Sources

    Text: Kompas.

    Would you like company on a walk?

    Join our group for the Prague-West area and its wider surroundings. We will arrange the pace, routes and first meeting together.

    Open the local group

  • How to walk with poles: the basic technique for active walkers

    This guide is not for racers. It is for active walkers who want to go further, more lightly and with support. We will not teach you a long athletic stride. You will learn a way of walking in which the pole helps you, the whole body joins in and the walk feels better.

    Photo from the trail

    In brief

    • Look ahead, shoulders relaxed, belly drawn in slightly.
    • Plant the pole at the foot and push off with an outstretched arm, the pole points diagonally backwards.
    • The grip is loose: once the hand passes the hip, open your palm and let the strap hold the pole.
    • Natural stride, rhythm and balance matter more than the length of the stride.
    Chart

    What it is about, in one sentence

    You lead the pole behind your body: the hand with the pole ends behind the hip, the trunk turns by itself and the pole works as a support the body pushes off from. According to the Hudrator–Nunaatina study (ten years of observing and checking with many people), only then does the whole body join in. Whoever just “clacks” the poles in front of them is walking with support, but not doing Nordic Walking.

    Before you start: pole length

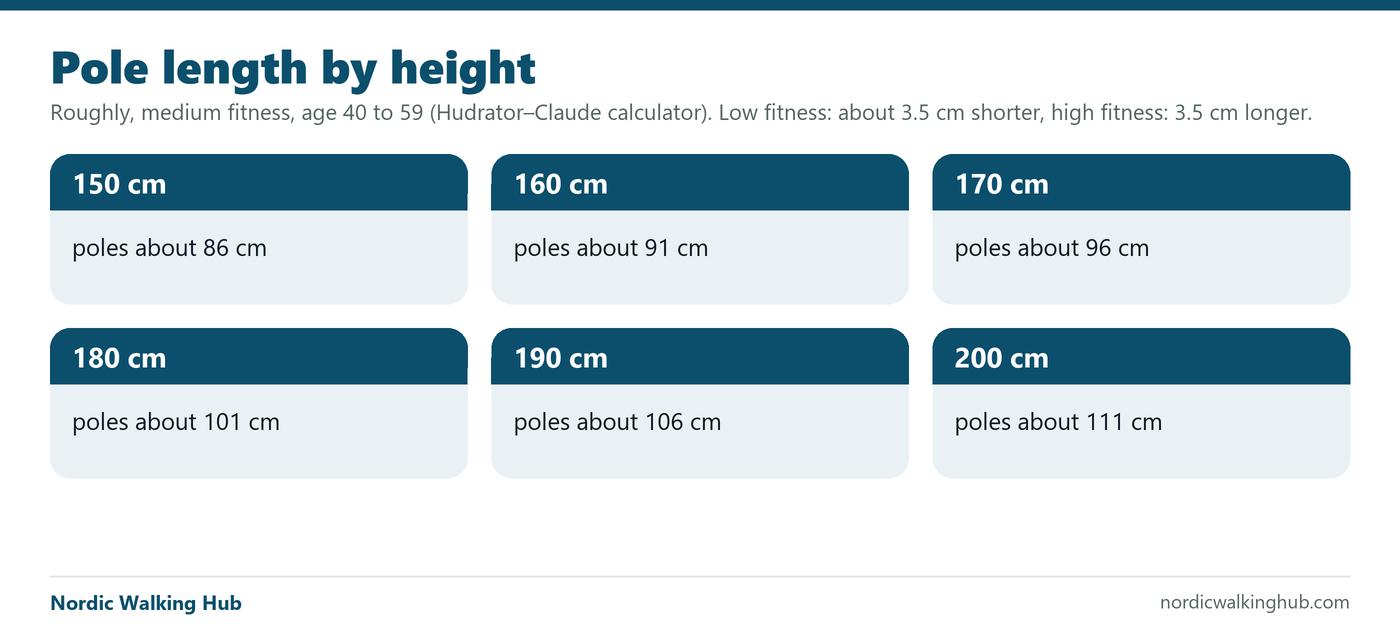
    The poles should be shorter than the usual misleading bent-elbow formula says. A quick estimate: the pole reaches roughly to your hip. Why, and how to find your length, is explained in How long should your poles be. You can work it out with the pole length calculator. We recommend three-section adjustable poles with lever locks: you can fine-tune the length, set it quickly and they fit in a backpack. Twist-lock telescopic poles do not hold.

    Put the straps on so that the pole stays with you even with an open hand. You will need that in step 4.

    Step by step

    Try each step for a few minutes before moving on. There is no hurry.

    1. Without poles first. Walk normally, at your own pace. Notice that your arms swing in opposition to your legs: the left arm goes forward with the right leg and the other way round. You keep exactly this rhythm with poles.
    2. Poles that trail. Put your hands in the straps and let the poles trail freely behind you, as if you were dragging them. Arms loose by your sides, tips sliding along the ground at an angle behind you. Do not think about anything, just get used to the rhythm.
    3. The pole lands by your foot. Start planting the pole lightly. The tip lands roughly level with your foot and the pole points backwards at an angle. Not upright and not far in front of you.
    4. Push behind the body. Push the pole backwards. The arm is almost straight, not bent at a right angle at the elbow. The push ends behind the body, roughly at the hip. At the end of the push open your hand and let the strap hold the pole.
    5. Let the trunk work. When the hand with the pole ends behind the hip, the trunk turns by itself. Do not hold it back. This brings your shoulders, back and belly into the walk.
    6. Your pace. Walk at an ordinary walking pace. You do not need to speed up, and you should have breath left for talking. How to judge the pace without a watch is described in the talk test.

    How you know it works

    • The trunk turns by itself as you push.
    • The hand with the pole ends behind you, behind the hip.
    • The poles do not clack in front of you.
    • Your shoulders are relaxed, you walk upright and look ahead, not at your feet.

    When the poles clack in front of you

    This is the most common difficulty and nothing to be embarrassed about. Usually the poles are too long, or the hand stays in front. Shorten the poles by 5 cm, let them simply trail behind you again for a while (step 2) and then start again with the push. As soon as the trunk starts to turn, it is right.

    Uphill and downhill

    According to the Hudrator–Nunaatina study, shorter poles work as a support when walking uphill and also downhill, much better than poles held in front of the body.

    Feet and posture

    Land on your heel and roll the foot through its whole length to the toes, which push you into the next step. Walk upright with a slight forward lean, shoulders relaxed, chest open.

    It is easier with others

    The technique comes quickest in a group, where someone shows you how they do it. Find a group near you.

    Frequently asked questions

    I walk like a “rower”, the same arm with the same leg. What should I do? Walk for a while without planting the poles: let them drag behind you on their straps, and after a while the arm and leg cross naturally, as the body is used to.

    Why do my poles clack in front of my feet? You are planting them too far forward. Plant them at an angle of about 45 degrees between your feet, not in front of you: a pole in front of the body brakes you instead of moving you forward.

    My forearms hurt after a walk. You are gripping the pole firmly the whole time. A firm grip belongs only to the moment of planting, after that open your palm and let the pole hang from the strap.

    How often should I train? For beginners, two to three walks a week of 20 to 40 minutes at an easy pace are recommended. Regularity matters more than length.

    Sources

    Text: Kompas.

  • Choosing pole length: Nordic Walking Hub for everyday walking in a recreational or lightly sporting style

    Choosing pole length by arms bent at the elbow makes no sense for ordinary recreational walking. Why? In our experience, a pole chosen this way is often too long for someone with a shorter, natural stride. To finish with the hand and pole behind the hip and allow the trunk to turn, they would have to lengthen their stride considerably and adapt to the pole. Many older people and recreational walkers do not want to or cannot walk that way. The pole then stays in front of the body: instead of pushing off behind them, they simply plant it in front. That is why we do not start with a right angle at the elbow or a height multiplier. We start with your normal stride and a length that lets you push off comfortably, with your hand and pole finishing behind your hip. This is the basis of the Nordic Walking Hub formula and the observations of the Hudrator–Nunaatina study. Pole lengths for a long sporting stride come later, for comparison.

    Why we start with your natural stride

    What decides it is how you walk with the poles. The Hudrator–Nunaatina study (ten years of observing and checking with tens to hundreds of people aged 35–60, walking at an ordinary pace of 3.5–5.5 km/h) shows two ways. Either you walk with your hands in front of your body and the poles simply "clack" in front of you: your hands and poles do not finish behind your hips, and your trunk does not turn. In our approach, we do not call this walking with support. For a recreational walker, it is an unnatural movement that lacks the push-off behind the body and the trunk involvement we aim for in Nordic Walking. Or you lead the pole behind the body: the hand with the pole ends behind the hip, the trunk has to turn, the push comes from the arm and the trunk, and the pole works as a support that the body pushes off from, forwards. Only that way does the whole body take part, energy expenditure rises and walking is a better experience. According to the Hudrator–Nunaatina study: people who walk like this have a more valuable walk and use more energy than those who clack the poles in front of them.

    According to the Hudrator–Nunaatina study, shorter poles are more comfortable. They work as a support when walking uphill and also downhill, much better than poles held in front of the body. With a correctly chosen shorter length, the extent to which the poles are used is 40 to 50% greater than when walking with the poles in front of the body.

    Nordic Walking makes sense because it brings the upper half of the body into walking. Studies show this. Walking with poles needs more oxygen than ordinary walking (Sugiyama et al., 2013). In experienced walkers using a vigorous technique, energy expenditure was up to 67% higher than in ordinary walking (Hansen and Smith, 2009). According to the Hudrator–Nunaatina study, pole length should allow a push-off behind the body and a natural trunk turn. With this technique, the oblique and rectus abdominal muscles also take part in the movement. When the hands and poles stay in front of the body, the arms do most of the work and the targeted trunk involvement we aim for is missing. Simply holding poles is not enough: in our approach, Nordic Walking means walking with a push-off behind the body and trunk movement. Zoffoli et al., 2017 also recorded greater abdominal muscle activity during the pole walking they studied; our choice of pole length here comes from the Hudrator–Nunaatina study.

    The length of the poles decides whether the second way is possible. Good news from research: regular pole walkers around fifty (average 50.6 years, almost all women) walked with poles 7.5 cm shorter than they had chosen themselves just as comfortably and used 3% more energy uphill (Hansen and Smith, 2009). Shorter poles do not take anything away. That the trunk turns at the right length comes from the Hudrator–Nunaatina study. Longer poles may suit a long sporting stride; an uphill route alone is not a reason to lengthen them. In our approach, the pole should also allow a comfortable plant and push-off uphill without unnaturally raising the hand. Plant the shorter pole into the slope slightly ahead of you. As you step, your body moves past the planting point, your hand guides the pole backwards alongside your body, and the push-off moves you forwards. You should not have to reach high in front of your body simply to plant a long pole on the slope. We adapt the length to the stride and terrain, rather than adapting the arm to the pole length.

    Examples from the Hudrator–Nunaatina study

    • Man, 196 cm, less athletic build: poles of 105 cm. By the misleading bent-elbow formula (height × 0.68) he would have 133 cm.
    • Woman, 176 cm, slim athletic build, physically fit: poles of 102 cm. By the misleading bent-elbow formula she would have 120 cm.
    • Woman, 173 cm, slim athletic build, lower hips (shorter legs): poles of 97 cm. By the misleading bent-elbow formula she would have 118 cm.

    In all three the trunk turns when pushing off and the hand with the pole ends behind the body. The Nordic Walking Hub formula for pole length is based on these cases.

    Chart

    Which poles: three-section poles with lever locks

    For walking with a backpack, up hills and to the views, we recommend three-section adjustable poles with lever locks. They pack smallest, are the easiest to carry and to stow in a backpack, and their length is the quickest to set. They suit beginners, groups and travel.

    A practical tip that has worked well for us: once you have checked your length while walking, mark the extension sections of your poles with a marker at the setting points. After folding the poles, you can quickly restore the right length using the marks. The marks record your length; always secure the lever locks before walking.

    We do not recommend twist-lock telescopic poles. According to the Hudrator–Nunaatina study, twist locks do not hold and the pole collapses under load.

    One-piece fixed poles are for athletes. For walking with a backpack in the hills they bring no advantage and are harder to carry.

    Photo from the trail

    The Nordic Walking Hub formula is based on the long-term Hudrator–Nunaatina study. It calculates pole length for a comfortable push-off, with the hand and pole finishing behind the hip.

    Measure ten steps at your normal walking pace and divide the length in cm by ten.

    From the floor to the hip bone (you can feel it at the side above the thigh), standing, no shoes.

    How to find your length

    • Starting setting: the pole reaches roughly to the hip (from the floor to the hip bone), a few centimetres higher for fitter people. So pole length is linked to leg length.
    • First walk normally, without poles, at your own pace.
    • Take poles that are shorter rather than longer than you expect, and clearly shorter than the bent-elbow rule gives. Let the poles trail behind your body as if you were dragging them.
    • Push off alternately. As soon as the trunk starts to turn by itself and the hand with the pole ends behind the body, the length is good.
    • If you "clack" the poles in front of you and the trunk does not turn, they are too long. Shorten them by 5 cm and try again.
    • Uphill, check that you can plant the pole comfortably without raising your hand high. If the length forces an unnatural position, shorten it by 5 cm and try again. Try a longer setting only when it suits your actual long sporting stride, always in steps of 5 cm.

    Work out your length with the Nordic Walking Hub formula: pole length calculator. That is why we recommend adjustable poles, at least to try out. The method comes from the Hudrator–Nunaatina study, supported by the other studies above.

    The bent-elbow rule is not for Nordic Walking, but rather for Nordic running

    Body height × 0.68, rounded to the nearest 5 cm. This formula, which is based on the bent elbow, we call the misleading bent-elbow formula. A person 172 cm tall: 172 × 0.68 = 117 cm, so poles of 115 cm. You will find this advice almost everywhere.

    Blindly setting the pole length by the bent elbow (a right angle when you stand the pole upright beside you) may suit skiing, but not Nordic Walking. With that length the pole stays in front of the body, the walker walks with the hands in front of the body, the poles do not finish behind the hips, and the trunk does not turn. On an average build the elbow is at about 63% of the height and the hip at about 53%: for a person 175 cm tall that is a difference of roughly 17 cm.

    Why the misleading formula does not fit

    • It only takes height into account. In the Hudrator–Nunaatina study, age, physical fitness, stride length and build (length of arms and legs, width of shoulders) matter just as much.
    • It leads to poles that are too long. With long poles the pole stays in front of the body and the walker just "clacks" them in front of himself or herself. The hands and poles stay in front of the body; the push-off behind the body and the trunk turn are missing.
    • It is tuned for a long, sporty stride. For people who walk at an ordinary pace (and this portal is for them) it does not fit.
  • How much extra energy does Nordic Walking burn? What studies say

    It is often said that Nordic Walking burns “a fifth more” than ordinary walking. What do the studies show? The number is not invented, but it is only the middle of a fairly wide range, and it is good to know that before you start counting biscuits by it.

    Photo from the trail

    What is reported

    Individual studies report different numbers:

    • A crossover study from 2021, that is 15 young men on a treadmill at 3 to 5 km/h, measured with poles 15.8% higher oxygen uptake, 17% higher ventilation and 8.4% higher heart rate.
    • A review summarises other studies: an increase in oxygen uptake from 12% to 37%, and in one study energy expenditure with poles was 23.5% higher.

    So the spread is large, roughly from a tenth to a third extra.

    A systematic review from 2013 included 16 randomised studies and 11 observational studies and concluded that Nordic Walking is better than brisk walking without poles in, for example, heart rate, oxygen uptake and quality of life.

    Why it is so

    Poles additionally engage the upper half of the body, so more muscles work. More muscles mean more work for the heart and lungs, and thus more energy used. That is why the use is higher, and why the number differs according to how much you really work with the poles: someone who just drags them burns less than someone who pushes off.

    What we do not know yet

    The numbers differ by pace, technique and the particular person. They are averages from studies, not a promise for everyone. A reasonable picture is: with poles you burn more than without them, by roughly a tenth to a third, and the specific number depends on you.

    If you are curious how much it is for you, try comparing your pulse on the same route with and without poles. Tell us in the forum what you got.

    How to use it

    Do not take that number as a calorie exchange rate. The added energy is real, but compared with what you burn over a whole day it is small and is easily cancelled out by one cake. Do Nordic Walking because you enjoy it and feel good after it. Let the calories do their job by themselves.

    To give you an idea: for twenty minutes of walking with poles the middle of the range comes to roughly four extra minutes of walking. That is not little, but neither is it something you should count in biscuits. The main benefit is elsewhere: the poles engage the arms and trunk, and you do more work without it feeling much harder.

    Photo from the trail

    What to take away

    The figures on energy burned are averages from particular studies, and your body may not repeat them exactly. More important than a single number is that you go with pleasure and last longer. The energy you do not leave sitting at a desk counts even when nobody measures it.

    Do you track your pulse or steps while walking? Tell us whether the difference with and without poles came out similar to what the studies describe.

    Sources

    Text: Kompas.

  • The most common beginner mistakes (and how to spot them)

    With technique it is not about doing it “right” or “wrong”. But some small details make walking more comfortable and the movement more effective, and many people make the same ones at the start. Do you recognise yourself? It is no shame, nearly everyone who starts has them.

    Photo from the trail

    You plant the poles too far forward

    If the pole lands far in front of your body, you pull yourself towards it instead of pushing off from it. You will notice the poles clacking in front of your feet and your walking being jerky. Try holding them diagonally backwards and planting them roughly level with your foot.

    You grip the pole tightly

    A firm grip belongs to the moment the pole touches down. As soon as your hand passes the hip, open your palm and let the strap hold the pole. If your forearms ache at the end of the walk and your hands are stiff, you are holding on all the time. It takes a little while to get used to the strap, but it pays off.

    You do not extend the arm backwards

    The push finishes behind the hip. If your hand stays near your body, the pole does not drive you forward and you are really just carrying a piece of metal. Let the arm swing back, loosely, without tension.

    The poles point straight down

    Holding them diagonally backwards allows the push forward. A vertical pole is more of a support, like walking with a stick along a snowy path. That is not wrong, but it has little to do with Nordic Walking.

    You look at your feet

    Your gaze belongs forward and your shoulders stay relaxed. It eases the neck and back, and you also see where you are going. If you catch yourself looking at the ground, pick a point a little way ahead and look at that.

    You do not have to fix everything at once. Choose one thing and work on it during your next walk. In a few weeks it will come by itself.

    How to tell you are doing it right

    The simplest way is to have yourself filmed. Ask a friend for a short video from the side and look at where the poles point, how far behind the body your hand gets, and where you are looking. You will see more on video than in your head. And if you want certainty, book a lesson with an instructor who sees you with their own eyes.

    One more thing: mistakes are part of starting. If you correct yourself by a small bit each time, in a month you walk quite differently and do not even know when it happened. You do not have to be perfect, it is enough to be a little better than last time. And do remember to smile while you are at it, because a frowning walk with poles is twice as tiring.

    Photo from the trail
    Sources

    Text: Kompas.

  • How many steps are enough? A number that may put you at ease

    We all know “ten thousand steps a day”. It hangs on watches, in apps, on posters in surgeries. But is it a real threshold, or just a round number that is easy to remember? In 2025 a large review of prospective studies was published and the answer is reassuring for most of us. Let me say right away how we see it: you do not have to walk ten thousand to benefit, and that is good news.

    Photo from the trail

    What the review did

    The authors searched two large databases for ten years, up to February 2025, and chose only studies that followed people forward in time and measured steps with a device, not by estimate. It included 57 studies from 35 groups of people, and 31 studies from 24 groups went into the calculations. They wanted to know how the number of steps relates to mortality, heart and blood vessels, cancer, diabetes, dementia, mental health, physical function and falls.

    Where the turning point is

    For overall mortality, cardiovascular disease, dementia and falls the relationship to the number of steps flattens as the number grows. The turning point comes roughly between 5,000 and 7,000 steps a day. In other words: you get the most benefit from the first steps, and the more you add, the smaller the benefit. For cancer, diabetes and depression the relationship is more direct: more steps, a somewhat better result.

    What happened at 7,000 steps

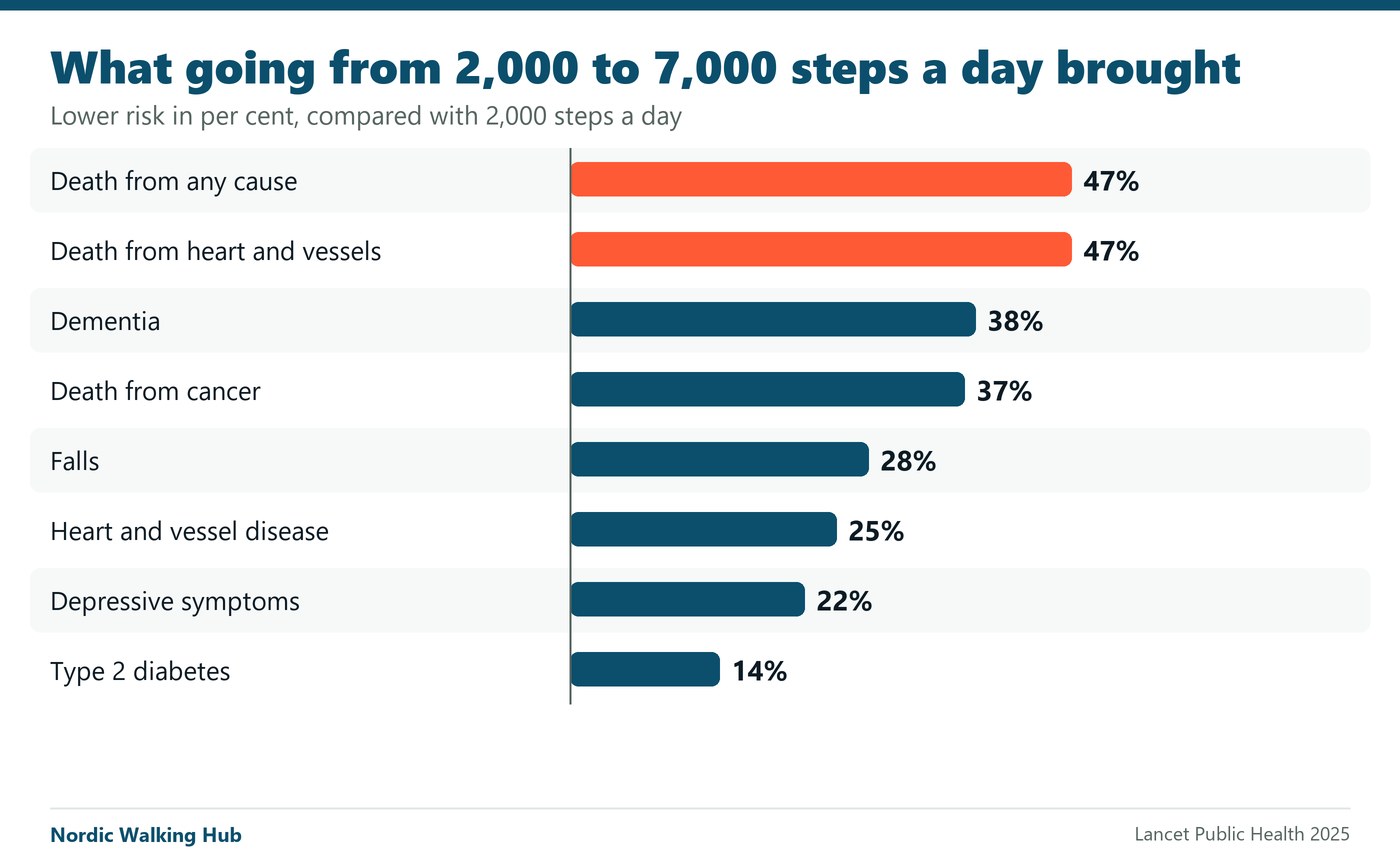
    Compared with 2,000 steps a day, 7,000 steps were associated with:

    • a 47% lower risk of death from any cause,
    • a 25% lower risk of cardiovascular disease,
    • a 47% lower risk of death from heart and blood vessels,
    • a 38% lower risk of dementia,
    • a 22% lower risk of depressive symptoms,
    • a 14% lower risk of type 2 diabetes,
    • a 37% lower risk of death from cancer,
    • a 28% lower risk of falls.

    For the onset of cancer only six per cent came out, and that was no longer statistically significant. To be fair, that is here too: not everything improved equally. But the summary is clear.

    Chart
    Photo from the trail

    How to read it

    These are observations, not an experiment. People who walk more may also be healthier in other ways, and the authors state this explicitly as a limitation. The certainty of the evidence was moderate for most outcomes, low for death from heart and blood vessels, onset of cancer and physical function, and very low for falls. The numbers do not say that 7,000 steps “arrange” 47% of health. They say that the difference between almost no movement and a reasonable amount is large.

    Our reading is this: the 10,000 figure was born of marketing and survived because it is round. The studies show that a good start is much closer. Whoever cannot manage it today should not despair. Whoever manages it can enjoy the bonus.

    What it means

    The authors write that 10,000 steps remains a good target for more active people, but 7,000 is associated with a meaningful improvement and for some may be more realistic. How many steps a watch counts when walking with poles, the studies do not address. In practice it is known that watches sometimes count too many and sometimes too few, and that it is not worth any nerves.

    If you have walked little so far, you do not have to jump to ten thousand at once. Add a thousand steps, say around the block after dinner, and a month later another. That first piece is the most important. And if you already walk, do not despair if one day does not work out. The overall picture counts, not one day.

    And one more thought: the steps a watch counts add up over the whole day. A trip to the shop, a walk with the dog, the stairs at work. Nordic Walking is just one of the ways to collect those steps, and a pleasant one at that.

    How many steps do you usually walk? Tell us in the forum how many your watch or phone shows and whether the numbers motivate you or rather stress you.

    Frequently asked questions

    **Are steps with poles counted the same as without?** The review did not address it. In practice it is known that watches sometimes count too many steps and sometimes too few when you walk with poles. Do not let that stress you: the time you spend moving matters more than the exact number.

    **How do I know I have enough?** The turning point is around 5,000 to 7,000 steps a day. If you reach that on most days, you are in the band in which the benefit flattens. More steps do no harm, but the gain is smaller.

    **A watch is not enough, is it?** A watch is just a tool. The studies followed people with devices, because estimates of “how much I probably walked” tend to be biased. For you they are more useful than for scientists: they give feedback.

    **What if I cannot walk that much?** Start with what you can. The difference between 2,000 and 4,000 steps is large according to the review, even though the number sounds modest.

    Photo from the trail

    Text: Kompas.

  • The talk test: how to find the right pace without a watch

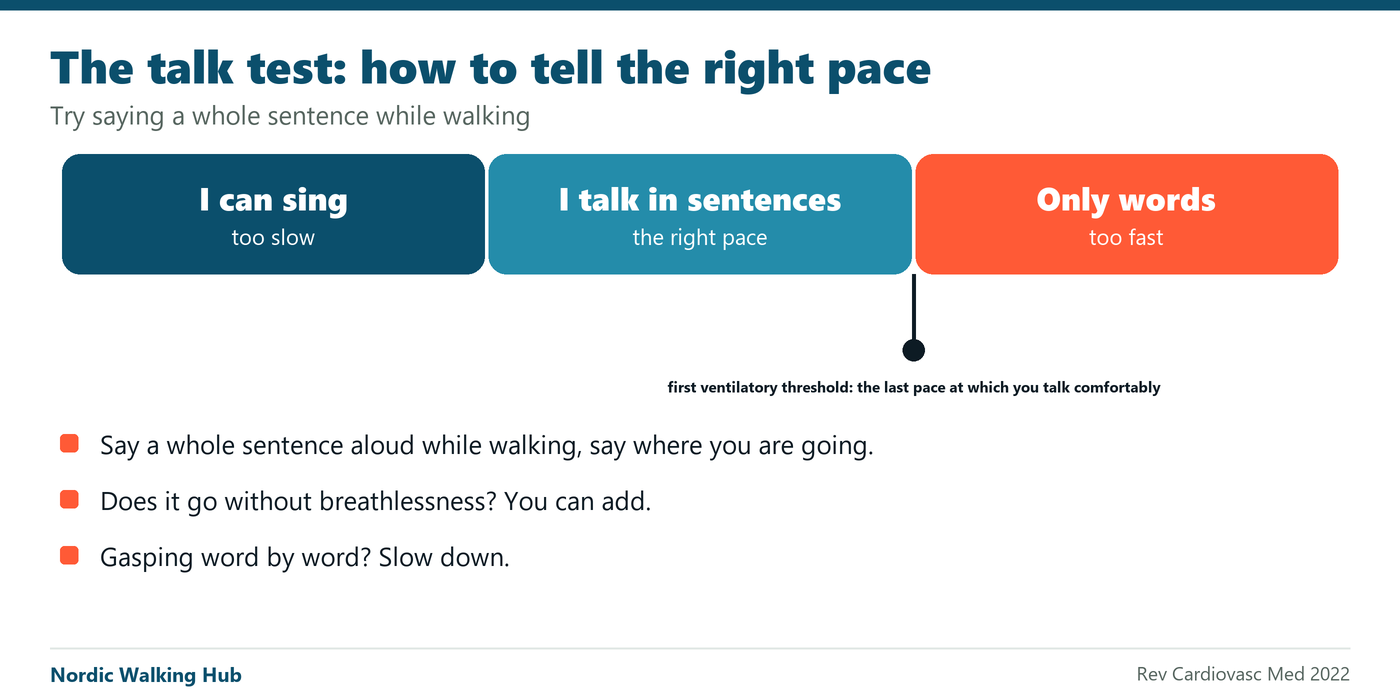
    You do not need a watch with a heart-rate monitor to know whether you are walking too slowly or too fast. There is the so-called talk test: try saying a whole sentence while walking. It sounds silly, but there is research behind it, and in our view it is the best pace gauge people have, and it is free besides.

    Photo from the trail

    In brief

    • While walking try saying a whole sentence. Does it go comfortably? The pace is right.
    • The last level of load at which you talk comfortably corresponds to the first ventilatory threshold, the place where breathing starts to speed up.
    • Ten studies, 414 people, mostly with heart diseases. The reliability is satisfactory, but it was studied in the laboratory.
    • You need no watch or equipment. If you walk in pairs, the pace sets itself.

    How it works

    The body tells you how hard you are working, you just have to learn to listen. When you walk calmly you speak fluently. When you speed up you begin to breathe more loudly and sentences get shorter. And when you add still more, you cannot say more than a word or two. The talk test turns that into a simple rule: the last pace at which you can still talk comfortably is the right one for endurance exercise.

    What research says about it

    A systematic review from 2022 included 10 studies in which 414 people, mostly with coronary artery disease, were exercising and talking at the same time. Seven studies were of moderate to high quality. The studies differed in procedure, but all had in common that speech was observed together with load.

    • The last level of load at which a person can still talk comfortably corresponded to the first ventilatory threshold. That is the point at which breathing begins to speed up noticeably.
    • Power output, oxygen uptake and heart rate at this level were the same as at the threshold.
    • The authors rate the reliability of the test as satisfactory, but only one study assessed it properly.

    You can imagine the first ventilatory threshold as the place where calm breathing turns into breathing that you can already hear. Up to exactly that moment you can still talk comfortably. And beyond that boundary begins walking that is visible in the breath and in the pulse.

    Chart
    Photo from the trail

    How to use it

    The authors suggest as the intensity for endurance exercise the level at which you can still talk comfortably. In practice: if you are walking and can say a sentence without effort, you are fine. If you can only gasp out a word at a time, slow down. You do not have to count or measure anything, it is enough to try saying something longer on the way.

    It is good to use it at the start: set out, after a few minutes say aloud where you are going and what happened to you today, and the pace will tune itself. If it goes without breathlessness, you can add. If not, slow down.

    If you walk with a friend or in a group, you have the test for free: when you can chat, the pace is good. Whoever is silent because they have no breath is going faster than they should. It is one of the reasons walking in pairs or in a group is more pleasant: the pace sets itself.

    What to watch out for

    The test was studied mainly in people with heart diseases and in the laboratory, not specifically in Nordic Walking. The exact procedure is not standardised, so the authors recommend interpreting the results with care. As an orientation while walking, though, it works, and it is free. In our view it is the best hint for beginners, because it needs no equipment or knowledge.

    How do you talk while walking with poles? Have you tried singing on the way? Tell us in the forum.

    Frequently asked questions

    **Does it hold when I walk uphill?** Going uphill you get out of breath sooner, so the pace at which you can still talk will be slower. That is fine. The test adapts to the terrain, it does not depend on speed, it depends on how you feel.

    **Do I have to talk aloud?** Even quietly is enough, the main thing is a fluent sentence. If you walk with someone, you have the test for free. If alone, try saying aloud what the weather is doing today.

    **Is it accurate?** The authors rate the reliability as satisfactory, but only one study assessed it properly. The test was studied mainly in people with heart diseases and in the laboratory. As an orientation while walking, though, it works, and it is free.

    **Should I use the test or a heart-rate watch?** They complement each other. The watch shows the pulse, the test shows how you feel. If you are unsure, trust the test more: the body is not wrong as often as an instrument.

    When the test misleads

    When you go up a steep hill, into the wind or straight after a meal, you get out of breath sooner. The pace at which you can still talk will be slower, and that is right: the test adapts to what the body can manage at the moment. Do not compare yourself with how you walked yesterday on the flat.

    Photo from the trail

    Text: Kompas.

  • Heart rate from a watch when walking with poles: how far to trust it

    A watch measures heart rate with light on your wrist. When you walk with poles, your hand keeps moving and holds a pole. How accurate is that?

    What the study did

    In 2021, Korean authors compared three heart-rate measurements in 15 young men (average age 23.7 years) during ordinary walking and Nordic Walking: a 12-lead ECG as the reference, a chest strap (Polar H7, which measures ECG) and an optical wrist sensor (Fitbit Charge 2).

    Results

    • The chest strap agreed with the ECG very well (agreement coefficient 0.96), the wrist sensor less well (0.84).
    • For the chest strap, the error did not differ significantly between ordinary walking and Nordic Walking.
    • For the wrist sensor, the average error in Nordic Walking was larger: 6.60 beats per minute versus 3.68 in ordinary walking.

    How to read this

    The study is small, done in a laboratory, with only young men and two specific devices. It is not a brand ranking, and other models may give a different result. The authors conclude that ECG-based straps may be better than optical sensors in Nordic Walking, while both types are adequate in ordinary walking.

    What follows

    If an exact heart rate matters to you, for example with heart problems, a chest strap is the better choice. For ordinary relaxed walking a watch or the talk test is enough.

    Sources

    Text: Kompas.

Advertisement
Space for your advertisement

Your advertising helps us enormously. Thank you.

Want to be here? Write to us
Advertisement
Space for your advertisement

Your advertising helps us enormously. Thank you.

Want to be here? Write to us