


This guide is not for racers. It is for active walkers who want to go further, more lightly and with support. We will not teach you a long athletic stride. You will learn a way of walking in which the pole helps you, the whole body joins in and the walk feels better.
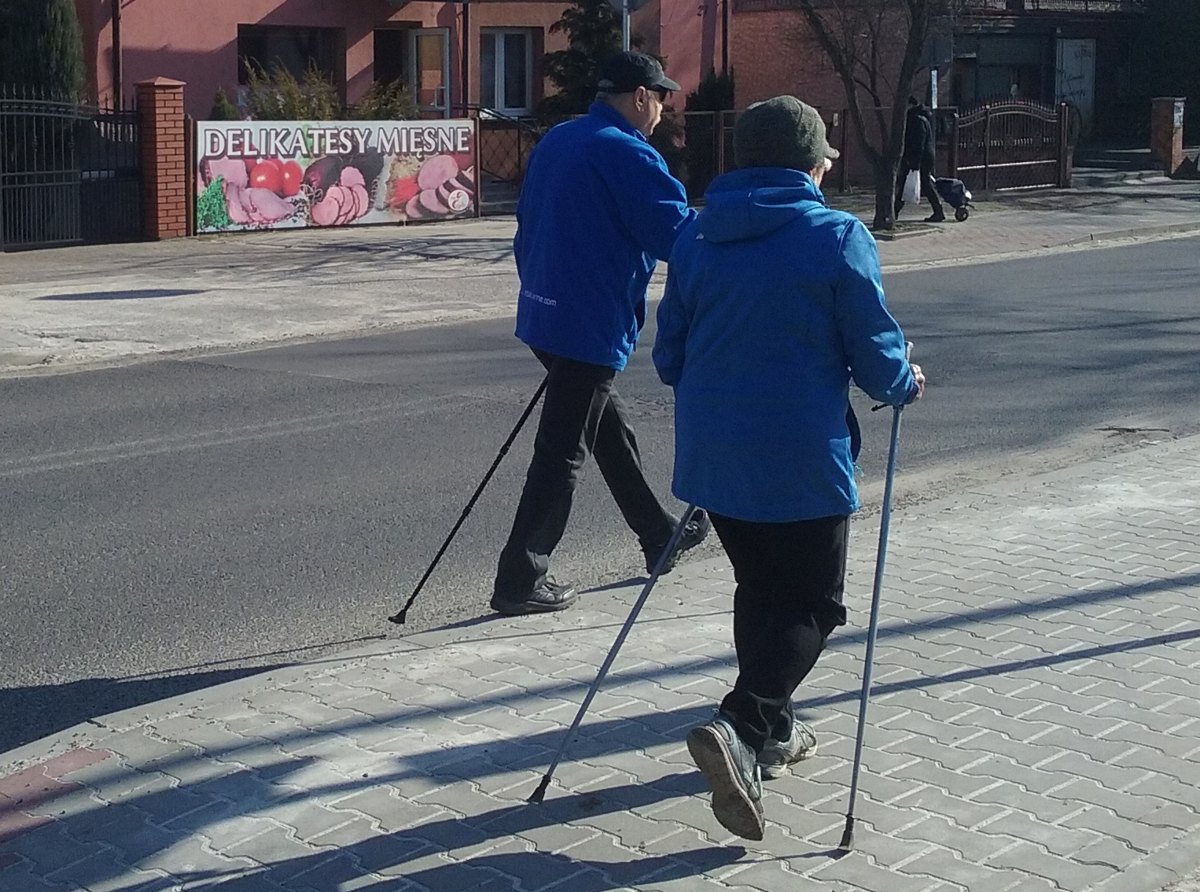
In brief
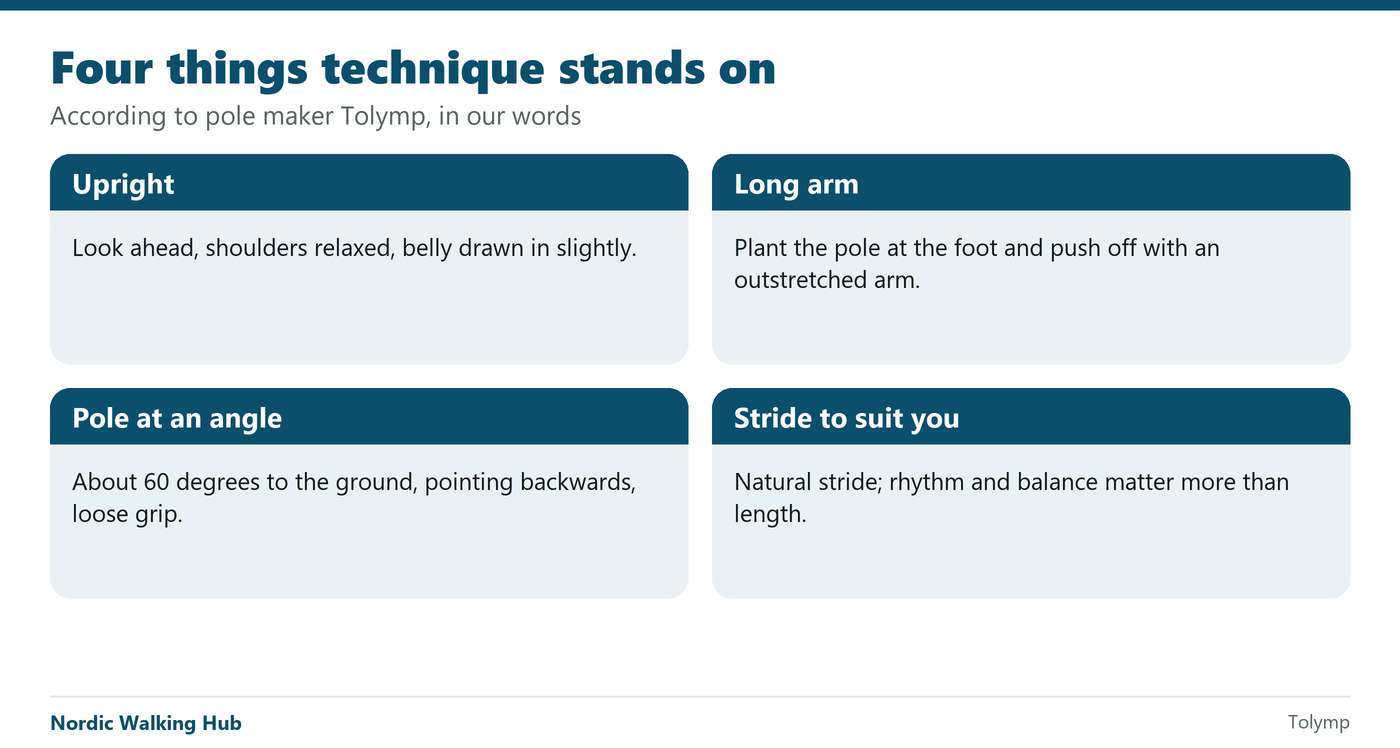
- Look ahead, shoulders relaxed, belly drawn in slightly.
- Plant the pole at the foot and push off with an outstretched arm, the pole points diagonally backwards.
- The grip is loose: once the hand passes the hip, open your palm and let the strap hold the pole.
- Natural stride, rhythm and balance matter more than the length of the stride.
What it is about, in one sentence
You lead the pole behind your body: the hand with the pole ends behind the hip, the trunk turns by itself and the pole works as a support the body pushes off from. According to the Hudrator–Nunaatina study (ten years of observing and checking with many people), only then does the whole body join in. Whoever just “clacks” the poles in front of them is walking with support, but not doing Nordic Walking.
Before you start: pole length
The poles should be shorter than the usual misleading bent-elbow formula says. A quick estimate: the pole reaches roughly to your hip. Why, and how to find your length, is explained in How long should your poles be. You can work it out with the pole length calculator. We recommend three-section adjustable poles with lever locks: you can fine-tune the length, set it quickly and they fit in a backpack. Twist-lock telescopic poles do not hold.
Put the straps on so that the pole stays with you even with an open hand. You will need that in step 4.
Step by step
Try each step for a few minutes before moving on. There is no hurry.
- Without poles first. Walk normally, at your own pace. Notice that your arms swing in opposition to your legs: the left arm goes forward with the right leg and the other way round. You keep exactly this rhythm with poles.
- Poles that trail. Put your hands in the straps and let the poles trail freely behind you, as if you were dragging them. Arms loose by your sides, tips sliding along the ground at an angle behind you. Do not think about anything, just get used to the rhythm.
- The pole lands by your foot. Start planting the pole lightly. The tip lands roughly level with your foot and the pole points backwards at an angle. Not upright and not far in front of you.
- Push behind the body. Push the pole backwards. The arm is almost straight, not bent at a right angle at the elbow. The push ends behind the body, roughly at the hip. At the end of the push open your hand and let the strap hold the pole.
- Let the trunk work. When the hand with the pole ends behind the hip, the trunk turns by itself. Do not hold it back. This brings your shoulders, back and belly into the walk.
- Your pace. Walk at an ordinary walking pace. You do not need to speed up, and you should have breath left for talking. How to judge the pace without a watch is described in the talk test.
How you know it works
- The trunk turns by itself as you push.
- The hand with the pole ends behind you, behind the hip.
- The poles do not clack in front of you.
- Your shoulders are relaxed, you walk upright and look ahead, not at your feet.
When the poles clack in front of you
This is the most common difficulty and nothing to be embarrassed about. Usually the poles are too long, or the hand stays in front. Shorten the poles by 5 cm, let them simply trail behind you again for a while (step 2) and then start again with the push. As soon as the trunk starts to turn, it is right.
Uphill and downhill
According to the Hudrator–Nunaatina study, shorter poles work as a support when walking uphill and also downhill, much better than poles held in front of the body.
Feet and posture
Land on your heel and roll the foot through its whole length to the toes, which push you into the next step. Walk upright with a slight forward lean, shoulders relaxed, chest open.
It is easier with others
The technique comes quickest in a group, where someone shows you how they do it. Find a group near you.
Frequently asked questions
I walk like a “rower”, the same arm with the same leg. What should I do? Walk for a while without planting the poles: let them drag behind you on their straps, and after a while the arm and leg cross naturally, as the body is used to.
Why do my poles clack in front of my feet? You are planting them too far forward. Plant them at an angle of about 45 degrees between your feet, not in front of you: a pole in front of the body brakes you instead of moving you forward.
My forearms hurt after a walk. You are gripping the pole firmly the whole time. A firm grip belongs only to the moment of planting, after that open your palm and let the pole hang from the strap.
How often should I train? For beginners, two to three walks a week of 20 to 40 minutes at an easy pace are recommended. Regularity matters more than length.
Sources
- Nordic Walking UK: How to Start Nordic Walking
- Tolymp: Nordic Walking technique for beginners
- Cimalp: Nordic walking for beginners, the mistakes to avoid
Text: Kompas.

Join the discussion
Members can comment. Log in or create a free account.